Eyebrow Tutorial for men at home

Hey guys, I’m back with another tutorial! Now that your hair looks great, we want to make sure your eyebrows do as well. For that I got a little help from my friend Chris again (He is still a great barber😉). He plucks my eyebrows with a thread and tweezers.

From him I learned the right way to pluck them. You have to be careful, so it doesn’t look too feminine. If you like that look, pluck away! But for me it wouldn’t fit.

Step 1: Careful cleaning on top

I have very thick eyebrows, so we started by carefully cleaning out the single hairs on top with a thread. It is much cleaner with a thread than with tweezers.

Step 2: The middle part

Also we did clean the middle part, I am not a fan of a monobrow. 😀

Step 3: Shaping it

To get your eyebrows into a good shape, you need to find their highest point on top first. For that you take a pen or a stick, put it on the tip of your nose and lay it in a straight line over your pupil to the approximate high point of your eyebrows, to really get the detailed point. On that part you DON’T want to take away any hair, because that ruins the face and the eyebrows. Chris did a great job on that. Also remember to do it on each side seperately. 😀

Step 4: Form the eyebrow bottom

The top was done, so we continued with the bottom. Now the tweezers came into play. Again we did it very carefully. You remember the highest point of the eyebrows and how you should’nt take anything away of it on top? Well, on the bottom of that high point you can take away a little bit more, so you get the perfect shape.

And with that you’re done! I have learned a lot on eyebrow shaping, have you? 😊 For more tutorials like that, challenging workouts and exciting vlogs check out my YouTube Channel @fabianxarnold.

10 min – Military Workout for at home

Hey guys, another workout is coming your way! This time I wanted to show you a „military workout“ routine. It combines cardio with strength exercises, and it definitely will be challenging, but it also will be worth it at the end. You can add it to your workout routine as a high intense exercise to kill your fat!

Every exercise will be repeated several times within the course of the routine, but obviously I will only explain it once. 😀

Jumping Jacks: Start with high frequency jumping jacks, to get the heart going.

Burpees: Right after that go over to burpees. Jump down to a push up position, do a push up, get up, do a high jump and start over. Try to really get those movements into one flow. It is hard at first, but you will get used to it!

High Knees: To keep the intensity, switch to High knees. Remember: No pause between the exercises!

Mountain climbers: Now this is an exercise most people hate, but I love it! It really gets exhausting after a little while. Get into a push up position. But don’t do a push up – rather pull your knees alternately to your chest, as if you were running.

Punches: Throw some punches! But remember to move your feet. A boxer never stands still. Also lay your whole body into the punch.

Twist Jumps: Jump up and down and twist your hips. It sounds like a dance move and it kinda looks like it as well. 😀

Kick Throughs: They are pretty similar to mountain climbers. The difference is that you don’t pull your knees up to the chest, but kick your legs below your body through to the other side. Your right leg to the left and your left leg to the right.

Push Ups: Those almost feel like a relieve after those burpees, right?

Push Up Hold: Now hold yourself down in that position, arms tight to the body. It burns!

Plank Hold: Keep holding! Your body has to be a straight line. 

Squats Jumps: Now again something for your legs. They work just like normal squats, but when going up, you jump! Try to get a smooth movement here, similar to the burpees.

Side Plank on each side: Try to keep your body straight, it has to be one line, tense your whole body.

Jack Knife: Lay on the ground and stretch your body out. Now, while keeping your arms and legs straight, get them together in the middle.

Squat hold: Just like squats, but hold! Try to go deep.

Squat Twists: This is a mixture out of Jump Twists and Squat Jumps. Do the squat jump first, then switch to the right by pulling your right leg back and your left leg to the front, almost as in a deep lunge position in yoga. Then come back to the middle and after that to the left.

Plank up and downs: You thought plank was hard? Try going from a plank position to a push up position and back.

Walk up and down: Unleash the animal inside of you! Walk on your hands and feet up and down. Try to keep your body tense.

Lunge kicks: Last exercise! Do a deep lunge and kick out of it with your back leg!

And that’s it! Feeling exhausted? Good! With each time you will get used to it more and more, it will show. 😊

I hope you can make this workout part of your routine. For more workouts like this, hair style tutorials and vlogs visit my YouTube Channel @fabianxarnold. Take care and see you there!
How to ROPE SKIP ?! for beginners

Hey guys! I hope you are all doing well. Today I want to talk to you about one of my favorite warm up and cardio exercises: Rope skipping. All you need for that is a rope. That’s it. A rope.

Why is it so useful?

Rope skipping trains strength endurance, because the bouncing in place is very intense. It also promotes the coordination of different muscle groups than those you would use while running, for example. In addition to that, rope skipping supports the interconnectedness of the two hemispheres of the brain. As soon as a movement goes beyond the centre of the body, like crossing the arms in front of the body, the two halves of the brain have to communicate. It strengthens your skeleton as well and protects you from injuries. Enough good reasons? Let’s go!

How to do it correctly

  1. First, adjust the length of the rope a little bit higher than your hips. Then start with normal rope skips. Be sure to use both legs, one time under per jump.
  2. When you are comfortable with that, start a bit of a variation, for example only use one leg while jumping.
  3. Again, when you feel comfortable, switch to changing legs per jump.
  4. Of course you can always increase the intensity, if you want, You can do that by skipping. Simply pull up your knees while changing legs.
  5. If you are a more advanced ropeskipper, try doing a double under, by draggy the rope two times under per jump. This requires advanced coordination and also increases the intensity a lot.
  6. You are even more advanced? Great! Try implementing side swings in you ropeskipping routine. Here the interconnectedness of your brain comes into play. While doing normal rope jumps, swing the rope alternately on each side of your body. Then try to come back to normal rope jumps. It’s not as easy as it looks.
  7. Speaking of easy, why not do cross swings? While doing normal jumps, cross the rope with your arms. This requires a big deal of coordination and strengthens your arms as well. But be careful not to get tangled up.
  8. You mastered the previous exercises with ease? Or … you mastered them? Very good, now try forward and backward jumps. One leg always stays up front, while the other stays back. Now jump back and forth between the two.
  9. Almost done! The last exercise is the scissors jump. It is quite similar to the forward and backwards jumps, but instead of jumping back and forth between them, we are using both legs, only switching their positions. So with each jump, the other leg gets to be up front.

Nice, you did it! I hope you had fun with that exercise, I certainly did. You can’t get enough of my workouts? Just go to my YouTube-Channel, for each muscle group there is a fitting workout.

See you soon!

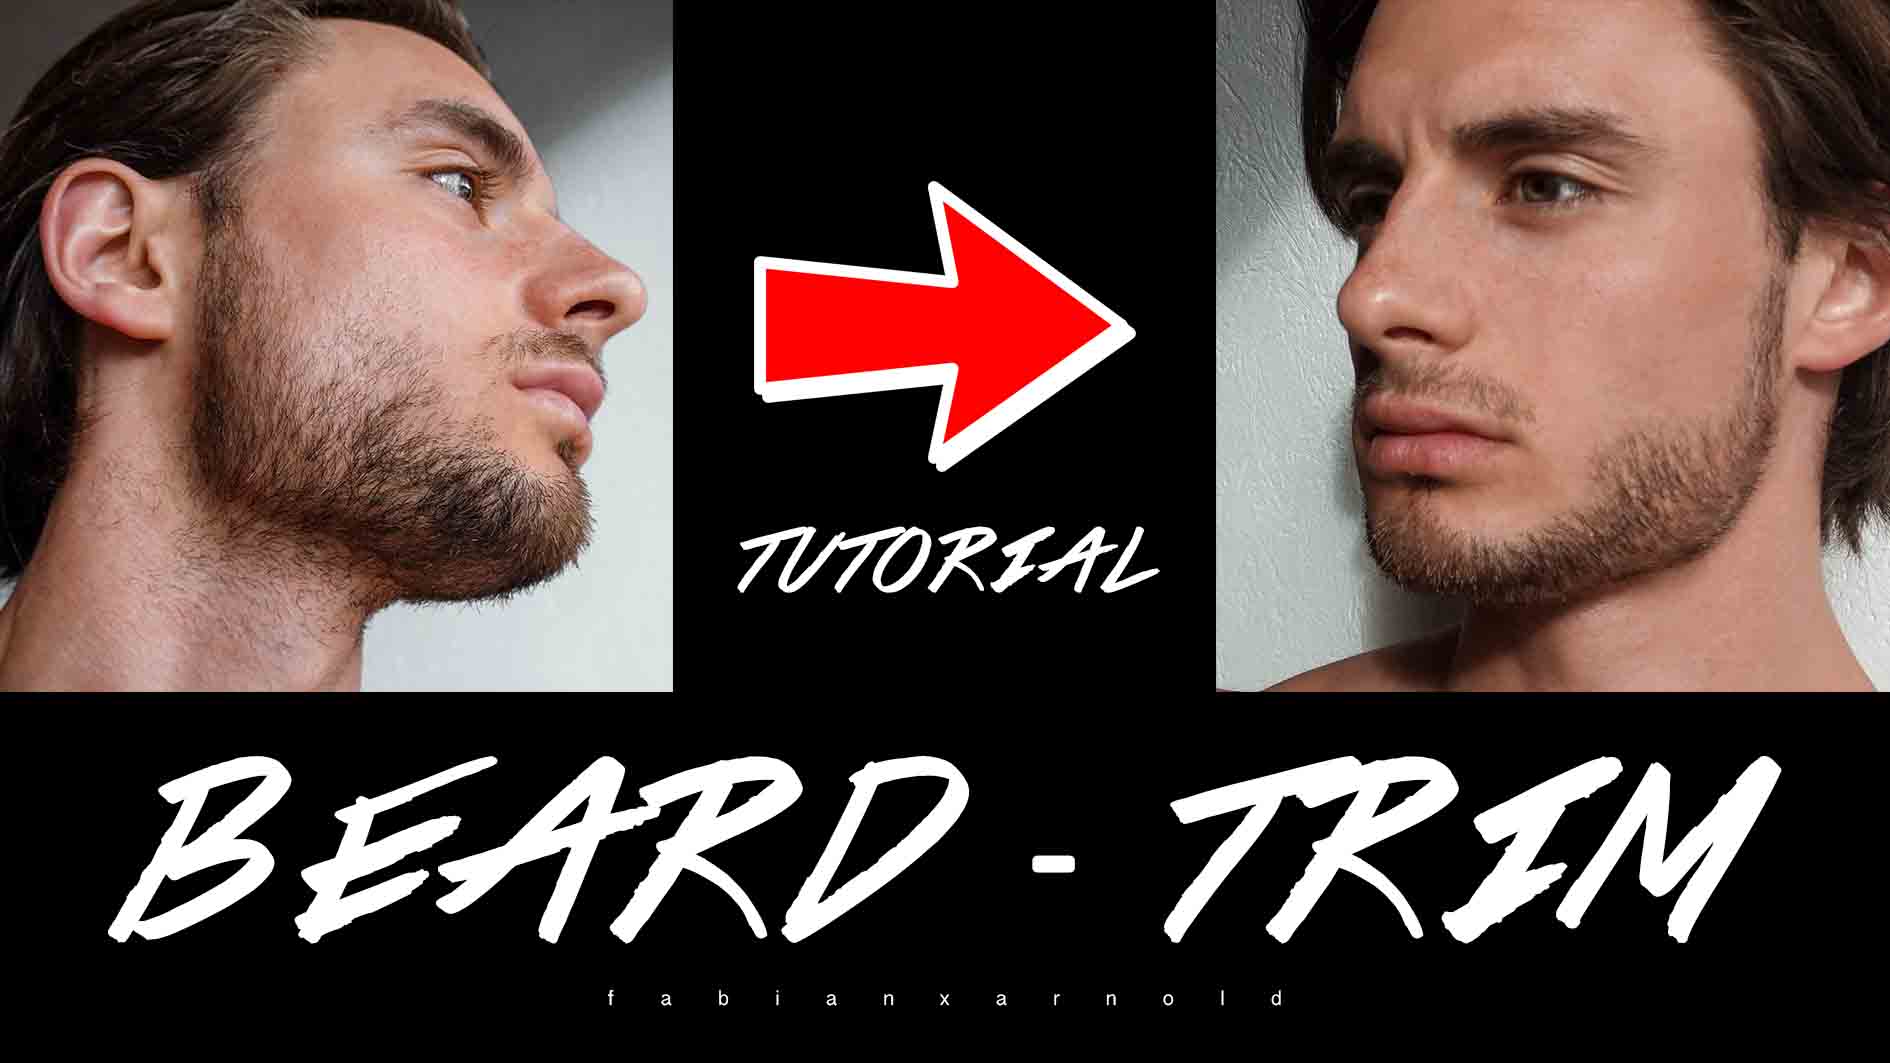
How to trim a beard?! – Tutorial 3 Day Beard MEN

Hey guys, welcome back! Today I want to talk about a very important asset to a man’s face: the beard.

When I was younger, I dreamed of having a real „man-beard“. Well, I am slowly getting there. Now I want to show you how I shave it, so it looks like a proper beard.

Before shaving

It is very important to let your facial hair grow for some time, even i fit looks horrible. To get the best out of it, you have to have something to work with. I try to work with one centimeter, that takes me about two weeks to grow.

Rough shave

I use a beard trimmer with millimeter adjustments, so I can be very precise. I always start with 5 millimeters and do a rough shave against the beard line. I start at the middle and do the sides after that (I go up until the middle of my ear, but you can change that up). Try to stretch your face a little bitt o reach every part of your face, otherwise some tiny hairs may be overlooked.
The moustache comes last. Here I adjust the trimmer to 4 or 3,5 millimeters.

If you have parts of your beard that are darker than the others, trim it a bit shorter, so it looks like it is the same length.

Details

After doing a rough shave, you have two options for the details:
1. Use a dry, electrical one blade
2. Use a wet shaver
I normally start with the dry blade and do the lines of my beard, later I clean everything up with the wet shaver.

To do the bottom lines on your throat properly, put one finger right where the chin ends and the throat begins. This is where you want to have your line. From there you go tot he sides and up to get a clean cut just along the transition of your chin to throat.

Some people (like me) don’t have that much facial hair on the sides. So I try to shave everything above the visible hair and create an intentional line that way. I basically draw a beard into my face. 😀

After that clean everything out with shaving cream and the wet shaver. Remember: Always cut up to down, otherwise you might destry your skin.

Aftercare

When you are done, wash the remaining cream off with water and dry your face with a towel. Don’t rub it in, but rather dab and press it against your skin. That way it is much more skin friendly.

Having done that, it is time to use after shave cream. I don’t really use proper after shave with alcohol in it, but natural products with aloe vera inside. Again, don’t rub it in, but rather to little dabs.

And after that, you are done! I hope I could help you with your beard routine and some of you will walk around with a massive beard shortly. 😀

If you want more tutorials like that, don’t forget to subscribe to my YouTube-Channel @fabianxarnold.

I am looking forward to see you! Take care!

Fabian

Plank-Challenge vs fabianxarnold

Hey guys! Aso you know, I have uploaded and several workouts for you to try out and insert into your daily routine. Many of you guys tagged me in your own workout videos. I love to see you guys putting in the work and I am happy that I can help you with that.

Now I wanted you to do a special challenge with me: The plank challenge. Yes, I know, many people absolutely hate that exercise. 😀 But there is no better way to strengthen your body centre, especially your back and abs.


How to take part

I have recorded a video of me doing the plank challenge, you can find that below and on my YouTube Channel @fabianxarnold! If you want to participate and challenge me, simply record a video of you doing the challenge with me and tag it with the hashtag #challengefabian ! Do you have, what it takes, to keep up with me? 😉

This challenge will go for one week. During this week I will repost the best challengers!


I am very curious to find out, who will step up. Actually, I can’t wait! If you want to see more workouts, visit my YouTube channel @fabianxarnold. There you will find a burning abs video as well.

See you soon!

Sixpack for Summer | perfect ABS Workout | 10 min

Hey guys!

As some of you have seen I uploaded a NEW WORKOUT Video including 10 min of the best SIXPACK-EXERCICES. Everyone of us wants to be in shape for summer so go for it and train with me!

10 min Sixpack Workout for at home without any equipment. Additional to my other workout videos I added this perfect abs workout to train your Sixpack Muscles without any breaks.

Do this workout in combination with my other Sixpack Workout on my Youtube Channel to switch up your training!

If you have any questions, feel free to email me. I will upload more YouTube videos in the near future, so it makes sense to subscribe to my YouTube account and for daily news follow my Instagram Account.

Down here you will find the Link for the ultimative 10min SIXPACK WORKOUT! HAVE FUN!!!

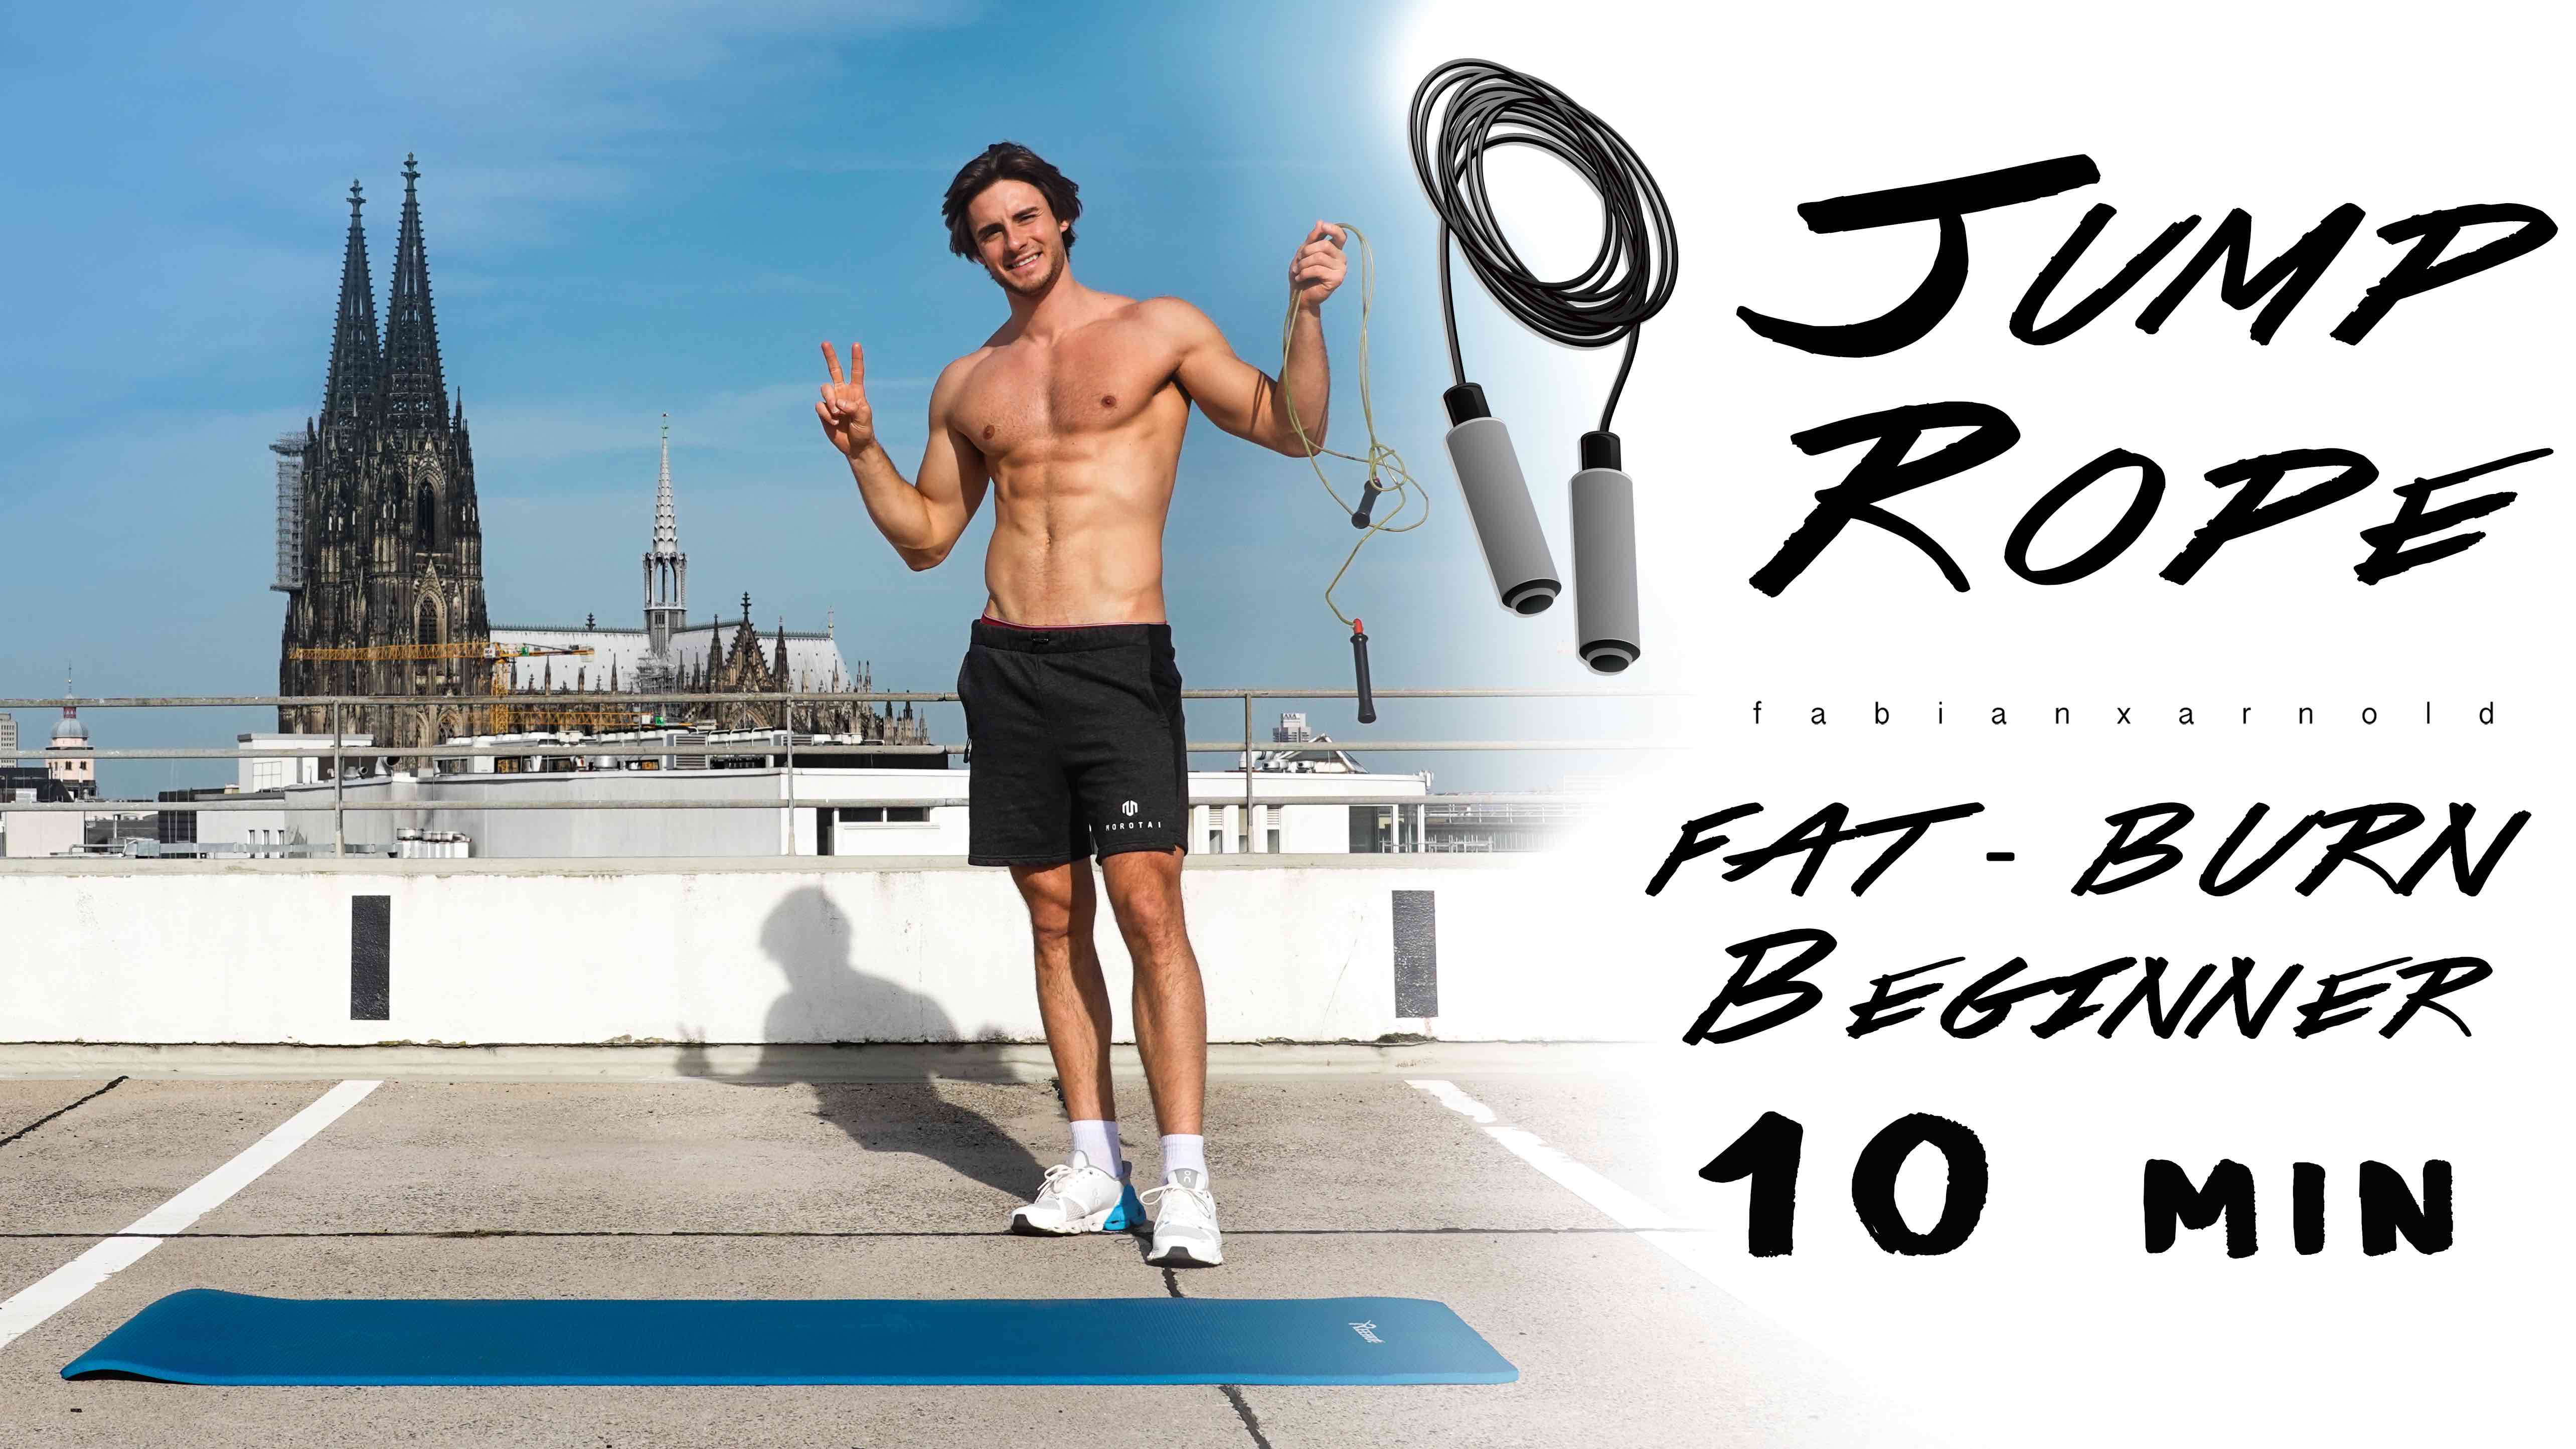
Jump Rope Workout | Beginner 10 min – NEW

10 min Beginner Rope Skipping Workout – Fat Burn – for at home without any equipment.

Additional to my other workout videos I added this workout as a kind of warm up workout before your main workout. Also it works as a simple Fat Burn Workout for beginners as well as pros. Simple exercises and full body sweat. Afterwards you can add the Sixpack Video or also the Pull-/ or Push-Workout.

WHAT ELSE IS IMPORTANT?

Beside just working out the food routine is almost more important than the workouts. On my fitness blog you will find more about my food routine. Always stay fit and eat healthy food.

Also its very important to stay consistent with your workouts. Consistency is the key for your success. Motivational thoughts on my Self-education Blog.

HOW TO CREATE A WORKOUT PLAN?

I have created a Youtube Video and Blogpost about that topic already! Go and check it out HERE.


If you have any questions, feel free to email me. I will upload more YouTube videos in the near future, so it makes sense to subscribe to my YouTube account and for daily news follow my Instagram Account.

Have fun – more informations about my workouts, fitness and food routine on my blog: https://fabianxarnold.com/fitness

https://youtu.be/0CJ2nNkLDwU


Check out my other videos:

Fitness:

12 min FAT BURN https://youtu.be/_wdp0xgUJ4k​​

13 min Sixpack https://youtu.be/ibayU72uWFw​​

30 min Push Workout https://youtu.be/NVnH1euRBzo​​

25 min Pull Workout https://youtu.be/LAYl4DAIcwc​​

20 min Rope Skipping https://youtu.be/dMmls_rBrRY​​

Modeling:

Q&A Modeling https://youtu.be/KvzVZTt8zRY​​

How to become?! https://youtu.be/BSk7_mfk7SE​​

Behind the Scenes Model Shoot https://youtu.be/qe9X3Bwuvt0​​

Vlog: Munich Vlog https://youtu.be/IKNG4Hi8EeQ​​

Mallorca Trip https://youtu.be/XkjrZc7OJbA​​

… much more on my channel!!!

https://www.instagram.com/fabianxarnold​​

On my channel you will find videos about modeling, men’s fashion and style, men’s hair, health, fitness, overall lifestyle, and of course, my personal life. Don’t forget to subscribe and make sure to hit that like button if you enjoyed the video! Fabian

Episode 28: ⁉️What is the best version of yourself⁉️

It’s hard to clearly define what means best.

As long as I can remember I am trying to be the best with discipline and goals.

But I don’t think that really means to be the best version of yourself. We are no machines, we are human and it’s also perfect to live a life with mistakes and learn from them.

——

For me: The best version is to keep the balance between hunting goals and enjoying the process to get there. Because the process is what makes our life.

Never forget to take a break and enjoy where you are right now in your process.

Episode 27:✖️What is PERFECT?!✖️

So many people are commenting my pictures and videos with “you are perfect”. 🧐🧐🧐

I always answer that no one can be perfect, because what is it to be perfect. There are so many different tastes out there.

Everyone likes something different.

Tall, small, thin, bigger, brown, blond and that’s only the appearance.

Then u have the mindset and character of someone. Shy, strong, lovely, arrogant, introverted and open minded.

– – – –

But there will be more than one puzzle piece out there that fits to u and what’s perfect for YOU! 🧩🖤

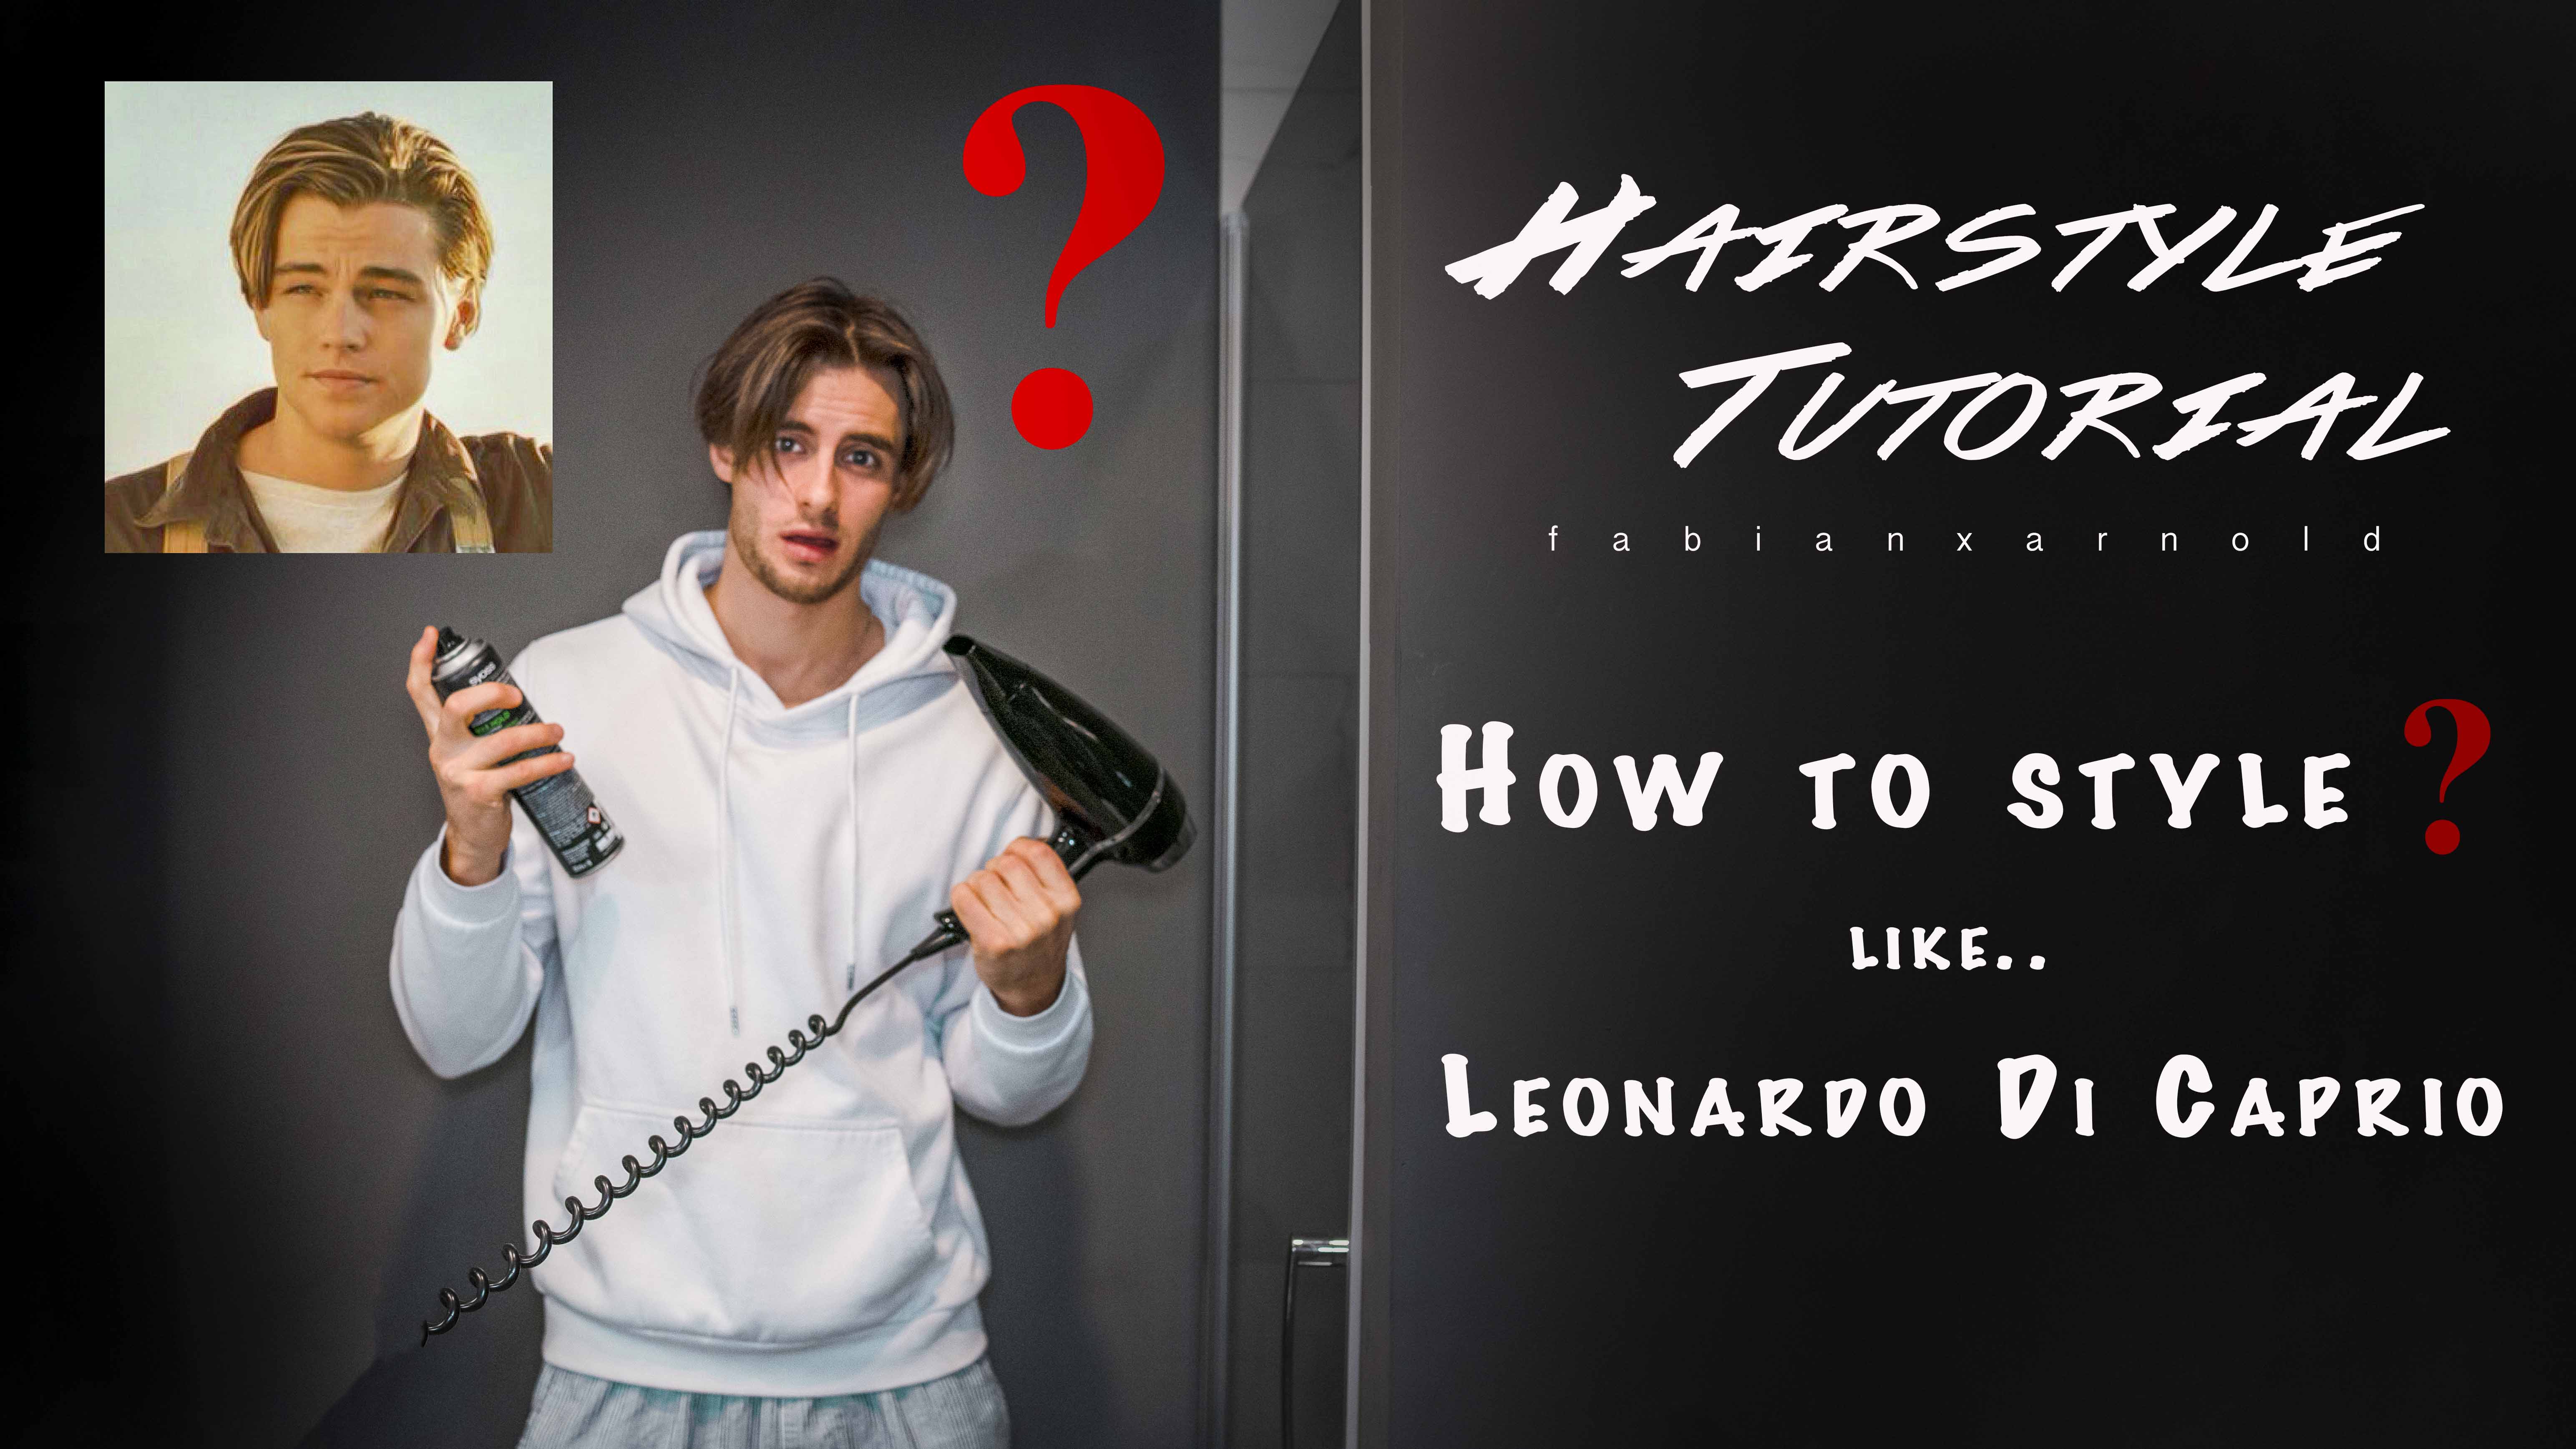
Hairstyle Tutorial: Leonardo DiCaprio

Hey guys, I hope you are all doing great!

I cut my hair. Yes, I did it. For 12 months I grew it and I wanted to cut it for so long – and I finally did (well, not me personally, but you get it :D).
New hair, new style! There are many different ways I can style my hair now. This time I want to show you a style that I think is very cool. I call it „The DiCaprio“. As you can tell by the name already, the look will be quite similar to Leonardo DiCaprio’s hairstyle – but in the 90’s. At that time he wasn’t the absolute megastar he is today, but rather a very talented up and comer, who started to land his first major roles. Oh, and a ladiesman as well.


Step 1: Wet your hair

You don’t need any products in your hair to begin with. You don’t even have to wash them beforehand. Just make sure, it is evenly wet and not dripping.


Step 2: Put volume in it

It doesn’t matter which product of volume mousse you use, it is just important that your hair has a little bit more strength in it and it doesn’t fall down so easily. Make sure that you don’t overdo it on the back and the sides though, because we don’t want to have too much volume on those parts, only at the top.


Step 3: Dry and form

Use a hair dryer and a brush. The main goal here is that your hair doesn’t fall down in your face anymore. You should also start on your middle parting by brushing your hair to either sides. After that you already should have a nice Leo-effect.


Step 4: Lean over and mess it up

Now your hair should be almost dry. In the final steps I like to bend over, so the hair falls straight down, and mess up the front strands to give them even more volume.
Now when you go through it with your hands (front to back), the Leo-effect is even more obvious.


Step 5: Matt paste

It is important that you use dry matt paste, not wet one! Even if you want to have a wet look, there are other ways to do it, just wait and see. 😉
With the same movement as before (front to back) you can give your hair now a nice form. To get the right texture, be sure to really mess it up at the end and brush it in. Now you can form it into place.


Step 6: Beard oil

To give your hair a more oily and healthy look, brush in some beard oil. You can even give yourself a little massage. Don’t use too much, otherwise it will look cheap. That is the advantage beard oil has to wet gel. It is much easier to get a cool look with beard oil, and in addition to that you can make fine adjustments without having to worry about soaking your hair.
After that the Leo-effect should be in full display. Damn, what a hairstyle!


Step 7: Hairspray

If you want it to hold, use some hairspray. Again: less is more. Make sure it holds, but don’t empty the bottle. 😀


That’s it for this awesome hairstyle! Tell me which styles you want to see next and I will try and make them happen. In the meantime, check out my Youtube Channel @fabianxarnold for more content! I recently uploaded a video, in which I tell you the story of how I became a model – of course you will find that on my website, as well.

So long, you guys, enjoy your day! Until next time. 😊

https://youtu.be/ZBTRUtOydmw