Hair Care Routine | How to care mens hair?

Hey guys, welcome back! Today I want to show you my daily hair routine, let’s go! 

Many people ask me these three questions:
– Which product do I use?
– How often per week do a shower?
– What are the steps of my daily hair routine?

Which Products do I use?

Right now I’m using the products of Fable and Mane. I use the shampoo, conditioner, the mask and the hair oil. They keep my hair strong and hydrated. The link to the products are of course in the description of my YouTube video. 

How often per week do I shower?

I shower almost everyday. I’m going to the gym and sweating, so it is really necessary. I wash my hair everyday, but I don’t use shampoo everyday. That way my hair doesn’t dry out. When I don’t use shampoo I only use water and conditioner.

My hair routine

Before the shower 

Once a week I use hair oil by Fable and Mane. This product strengthens the roots.
Fort hat you need partly wet hair. You can either do it right before showering, because you have to rinse it out later, or you can do it right before going to bed, if you shower in the morning.
With the oil comes a pipette. You drop a few drops of oil onto your roots and then gently massage them in with a comb. Then you let the oil soak in for at least 5 minutes, I do it overnight. Then you wash it out with shampoo. 

Shower 

As I said before I use shampoo every second day. Besides other ingredients there is coconut herb in the shampoo of Fable and Mane. It is important that your shampoo doesn’t dry out your hair too much. That’s why you shouldn’t use too much of it as well. Massage it in from front to back and let it soak for not more than 60 seconds. After that, wash it out.

Then I use the conditioner. It softens the hair and strengthens the ends. Again: don’t use too much. Rub it in your hair, not in your skin. It’s a product for the hair, not the skin. Wait for at least 1 minute and then wash it out. It’s important to wash everything out, because if you want to style your hair later and there is still some conditioner in it, it might feel heavy and it’s harder to style that way.

Once a week I also use the hair mask. It helps to hydrate and repair the hair. When you wash it too often and don’t use additional care, it is possible that your hair might get damaged. Let it soak in for at least 5 minutes up to 2 or 3 hours. After that wash it off. 

Also remember, if you dry your hair with a towel, don’t rub heavily, but rather try to be gentle. This is much less damaging. 

So, this is my hair routine. I hope you liked it and and are able to implement some of those things into your own routine. Definitely check out my YouTube channel and my other blog posts and videos on fitness, styling and modeling.

See you soon, take care guys!

Eyebrow Tutorial for men at home

Hey guys, I’m back with another tutorial! Now that your hair looks great, we want to make sure your eyebrows do as well. For that I got a little help from my friend Chris again (He is still a great barber😉). He plucks my eyebrows with a thread and tweezers.

From him I learned the right way to pluck them. You have to be careful, so it doesn’t look too feminine. If you like that look, pluck away! But for me it wouldn’t fit.

Step 1: Careful cleaning on top

I have very thick eyebrows, so we started by carefully cleaning out the single hairs on top with a thread. It is much cleaner with a thread than with tweezers.

Step 2: The middle part

Also we did clean the middle part, I am not a fan of a monobrow. 😀

Step 3: Shaping it

To get your eyebrows into a good shape, you need to find their highest point on top first. For that you take a pen or a stick, put it on the tip of your nose and lay it in a straight line over your pupil to the approximate high point of your eyebrows, to really get the detailed point. On that part you DON’T want to take away any hair, because that ruins the face and the eyebrows. Chris did a great job on that. Also remember to do it on each side seperately. 😀

Step 4: Form the eyebrow bottom

The top was done, so we continued with the bottom. Now the tweezers came into play. Again we did it very carefully. You remember the highest point of the eyebrows and how you should’nt take anything away of it on top? Well, on the bottom of that high point you can take away a little bit more, so you get the perfect shape.

And with that you’re done! I have learned a lot on eyebrow shaping, have you? 😊 For more tutorials like that, challenging workouts and exciting vlogs check out my YouTube Channel @fabianxarnold.

Haircut for men EVERYONE can wear!

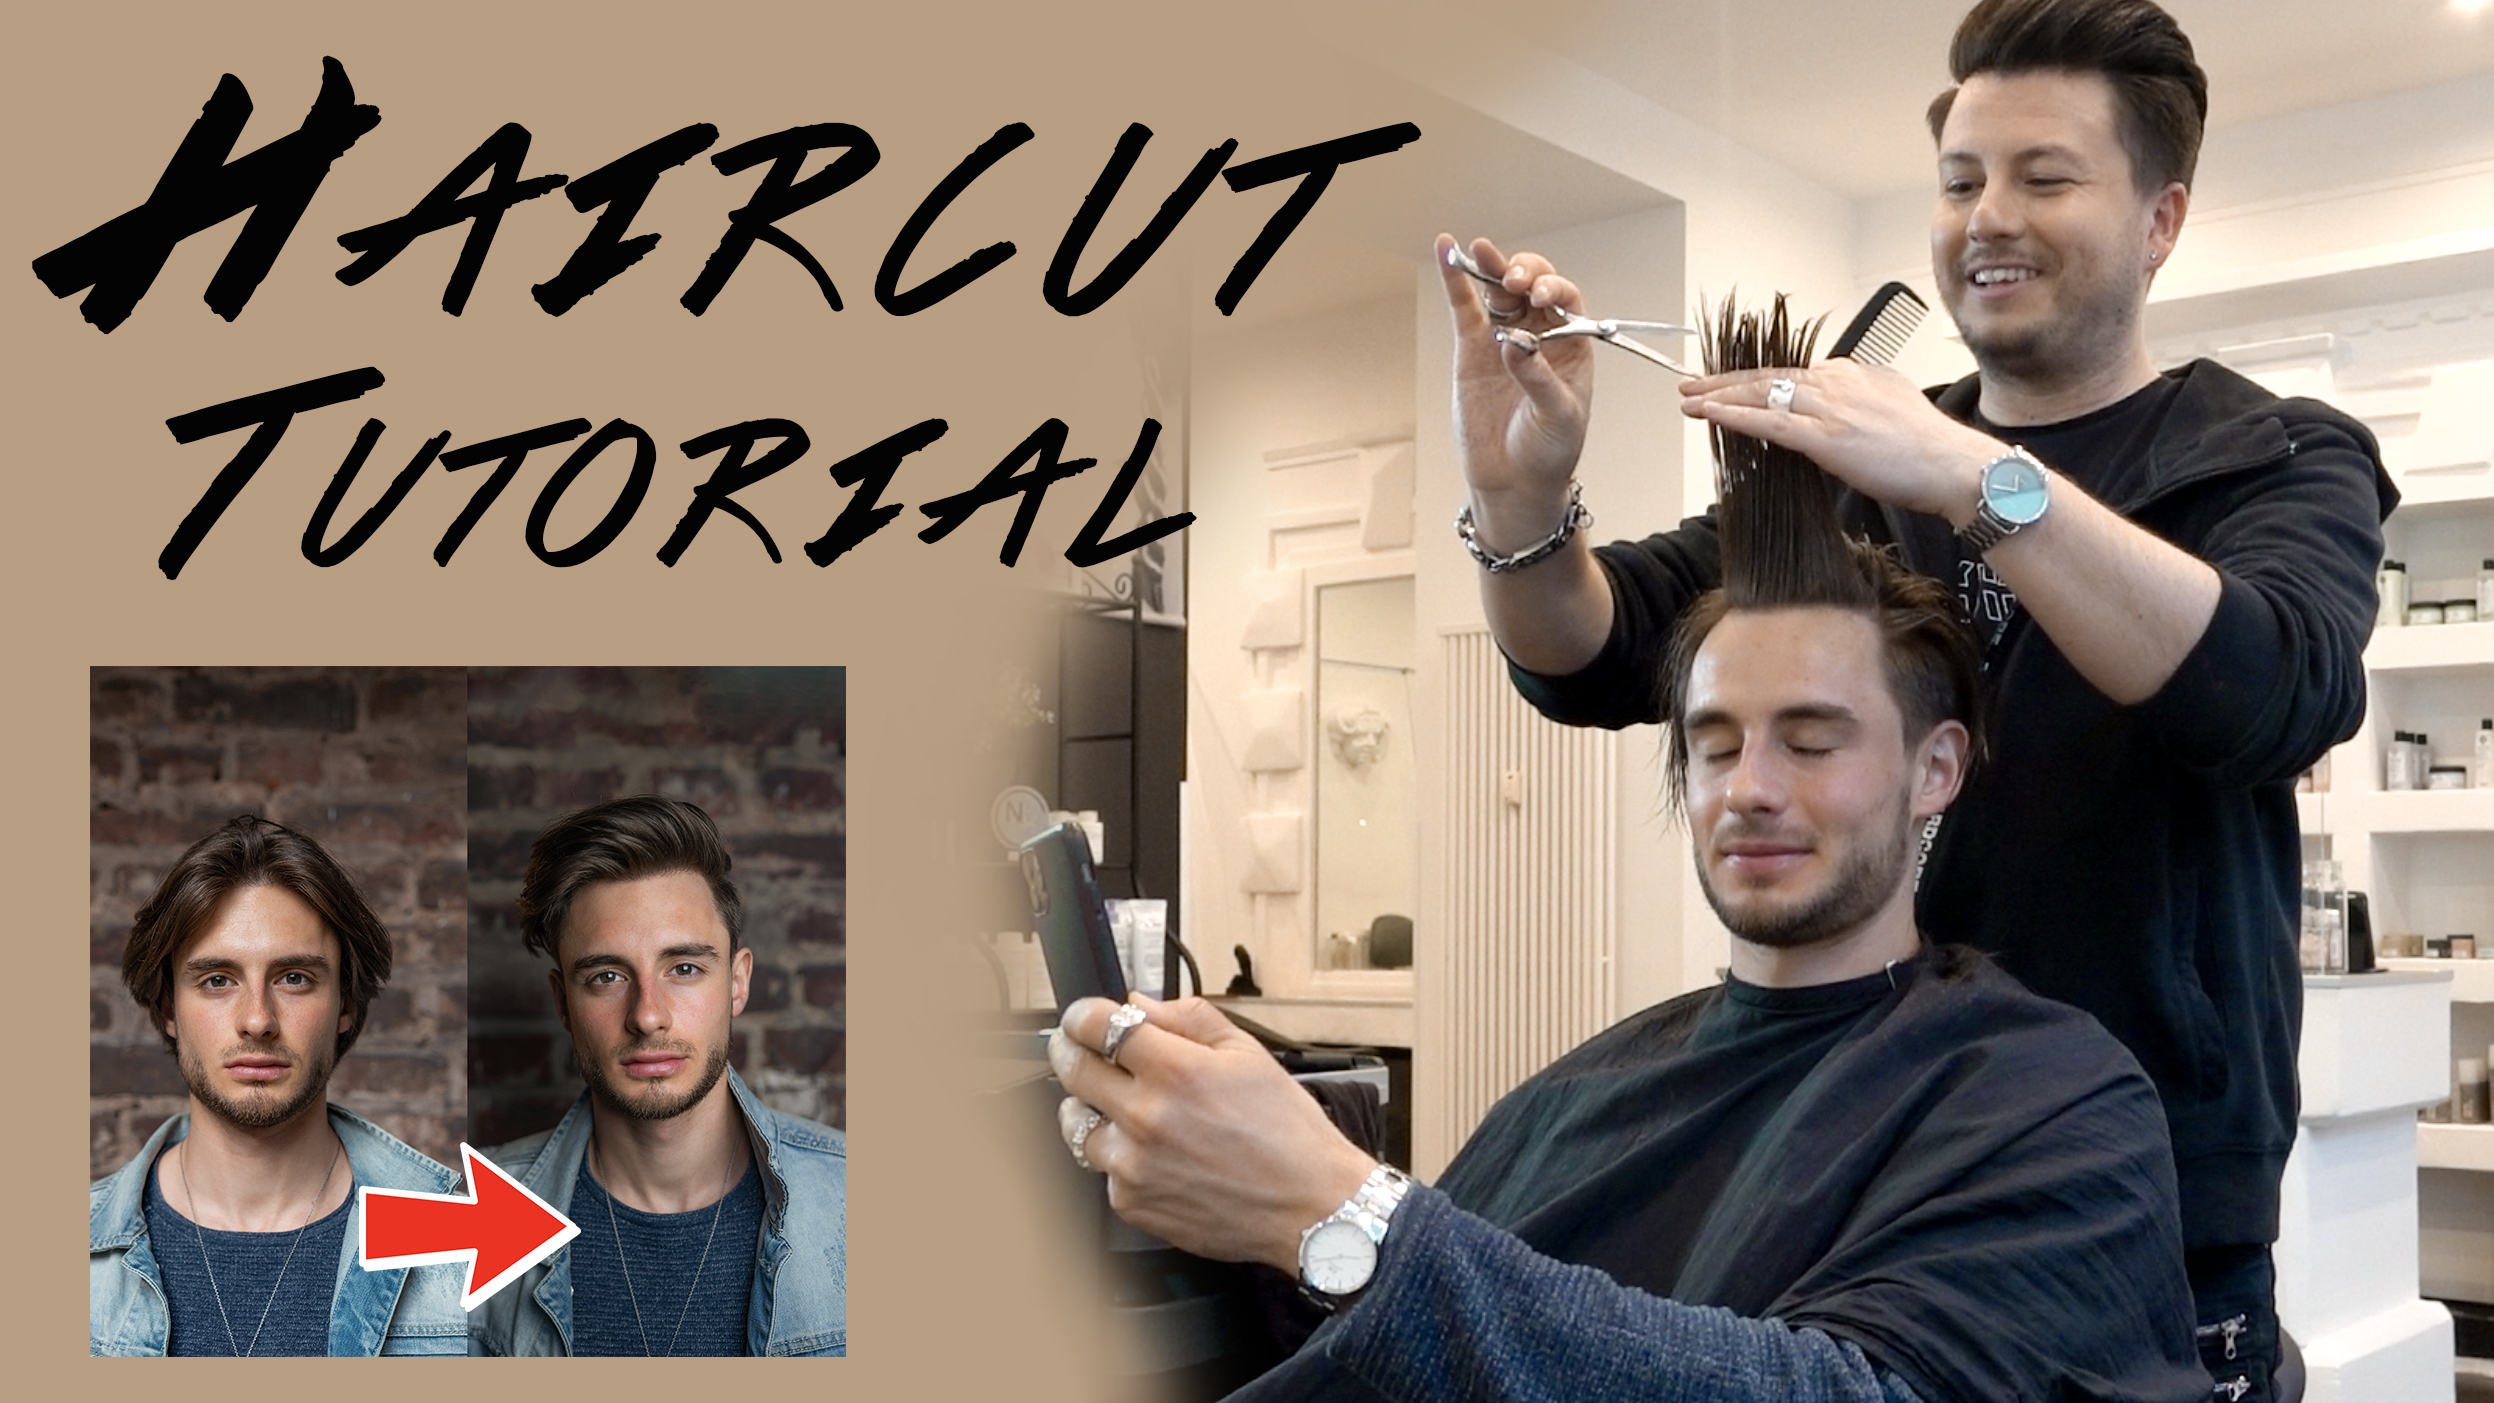
Hey guys, welcome back! I cut my hair … AGAIN! This time I did a completely different cut. I shaved off the sides and made the hair on top a bit shorter, but still rather long. That way I can style it in many different ways: to each side, flat or with volume.
Of course I didn’t cut is myself, my friend Chris was helping me out. Excellent barber!

Before we were ready to get going, we had to wash the hair. But I guess you already know that from your own barber 😉.

Step 1 – rough form sides

To get the rough form in, we started with the sides. We shaved them to a particular length, so we could still adjust them later on. Don’t get them too short!

Step 2 – fading up

When we got the right length on each side, we continued by cleaning the outside and started fading up. That’s the reason I told you not to get it too short from the beginning. The way we did it, we could still adjust the fade.
We started with 12 mm and went up to 20, which isn’t that short for sides, but in comparison to my longer hair on top looks really cool. Find out, what length fits you!

Step 3 – top

Cut the top. The top hair, of course! 😉 We really cut a chunk, because my hair was already so long, it had to be done. But you can play with the length. Again, find out what works for you.

Step 4 – thin out

Because I have very thick hair, we thinned out the top. Doing that allows me to actually style my hair in any direktion I want to. And it will grow back anyway. 😀

Step 5 – clean the back

To finish up, we cleaned out the back, so that it doesn’t look as „round“ anymore.

Step 6 – Styling

Styling: Here is where the fun begins! We started by using sea salt spray, because my hair still was very thick and heavy and falling in any direction. With blow drying that spray in, we gave it more texture, so it was much easier to style afterwards.
Then we continued with dry shampoo, which gave my hair even more texture, more grip and more volume.
Now it gets interesting. After we applied the hairwax, we used hairspray to make it hold. But we didn’t do it the ordinary way: Chris sprayed it on his fingers, going through my hair afterwards.

And thats it! A look that everyone can wear and that’s very versatile. I hope you enjoyed this post and I could give you some useful advice.

Don’t forget to check out my YouTube Channel @fabianxarnold for more tutorials and challenging workouts.

Take care and see you soon, peace!

Hairstyle Tutorial: Leonardo DiCaprio

Hey guys, I hope you are all doing great!

I cut my hair. Yes, I did it. For 12 months I grew it and I wanted to cut it for so long – and I finally did (well, not me personally, but you get it :D).
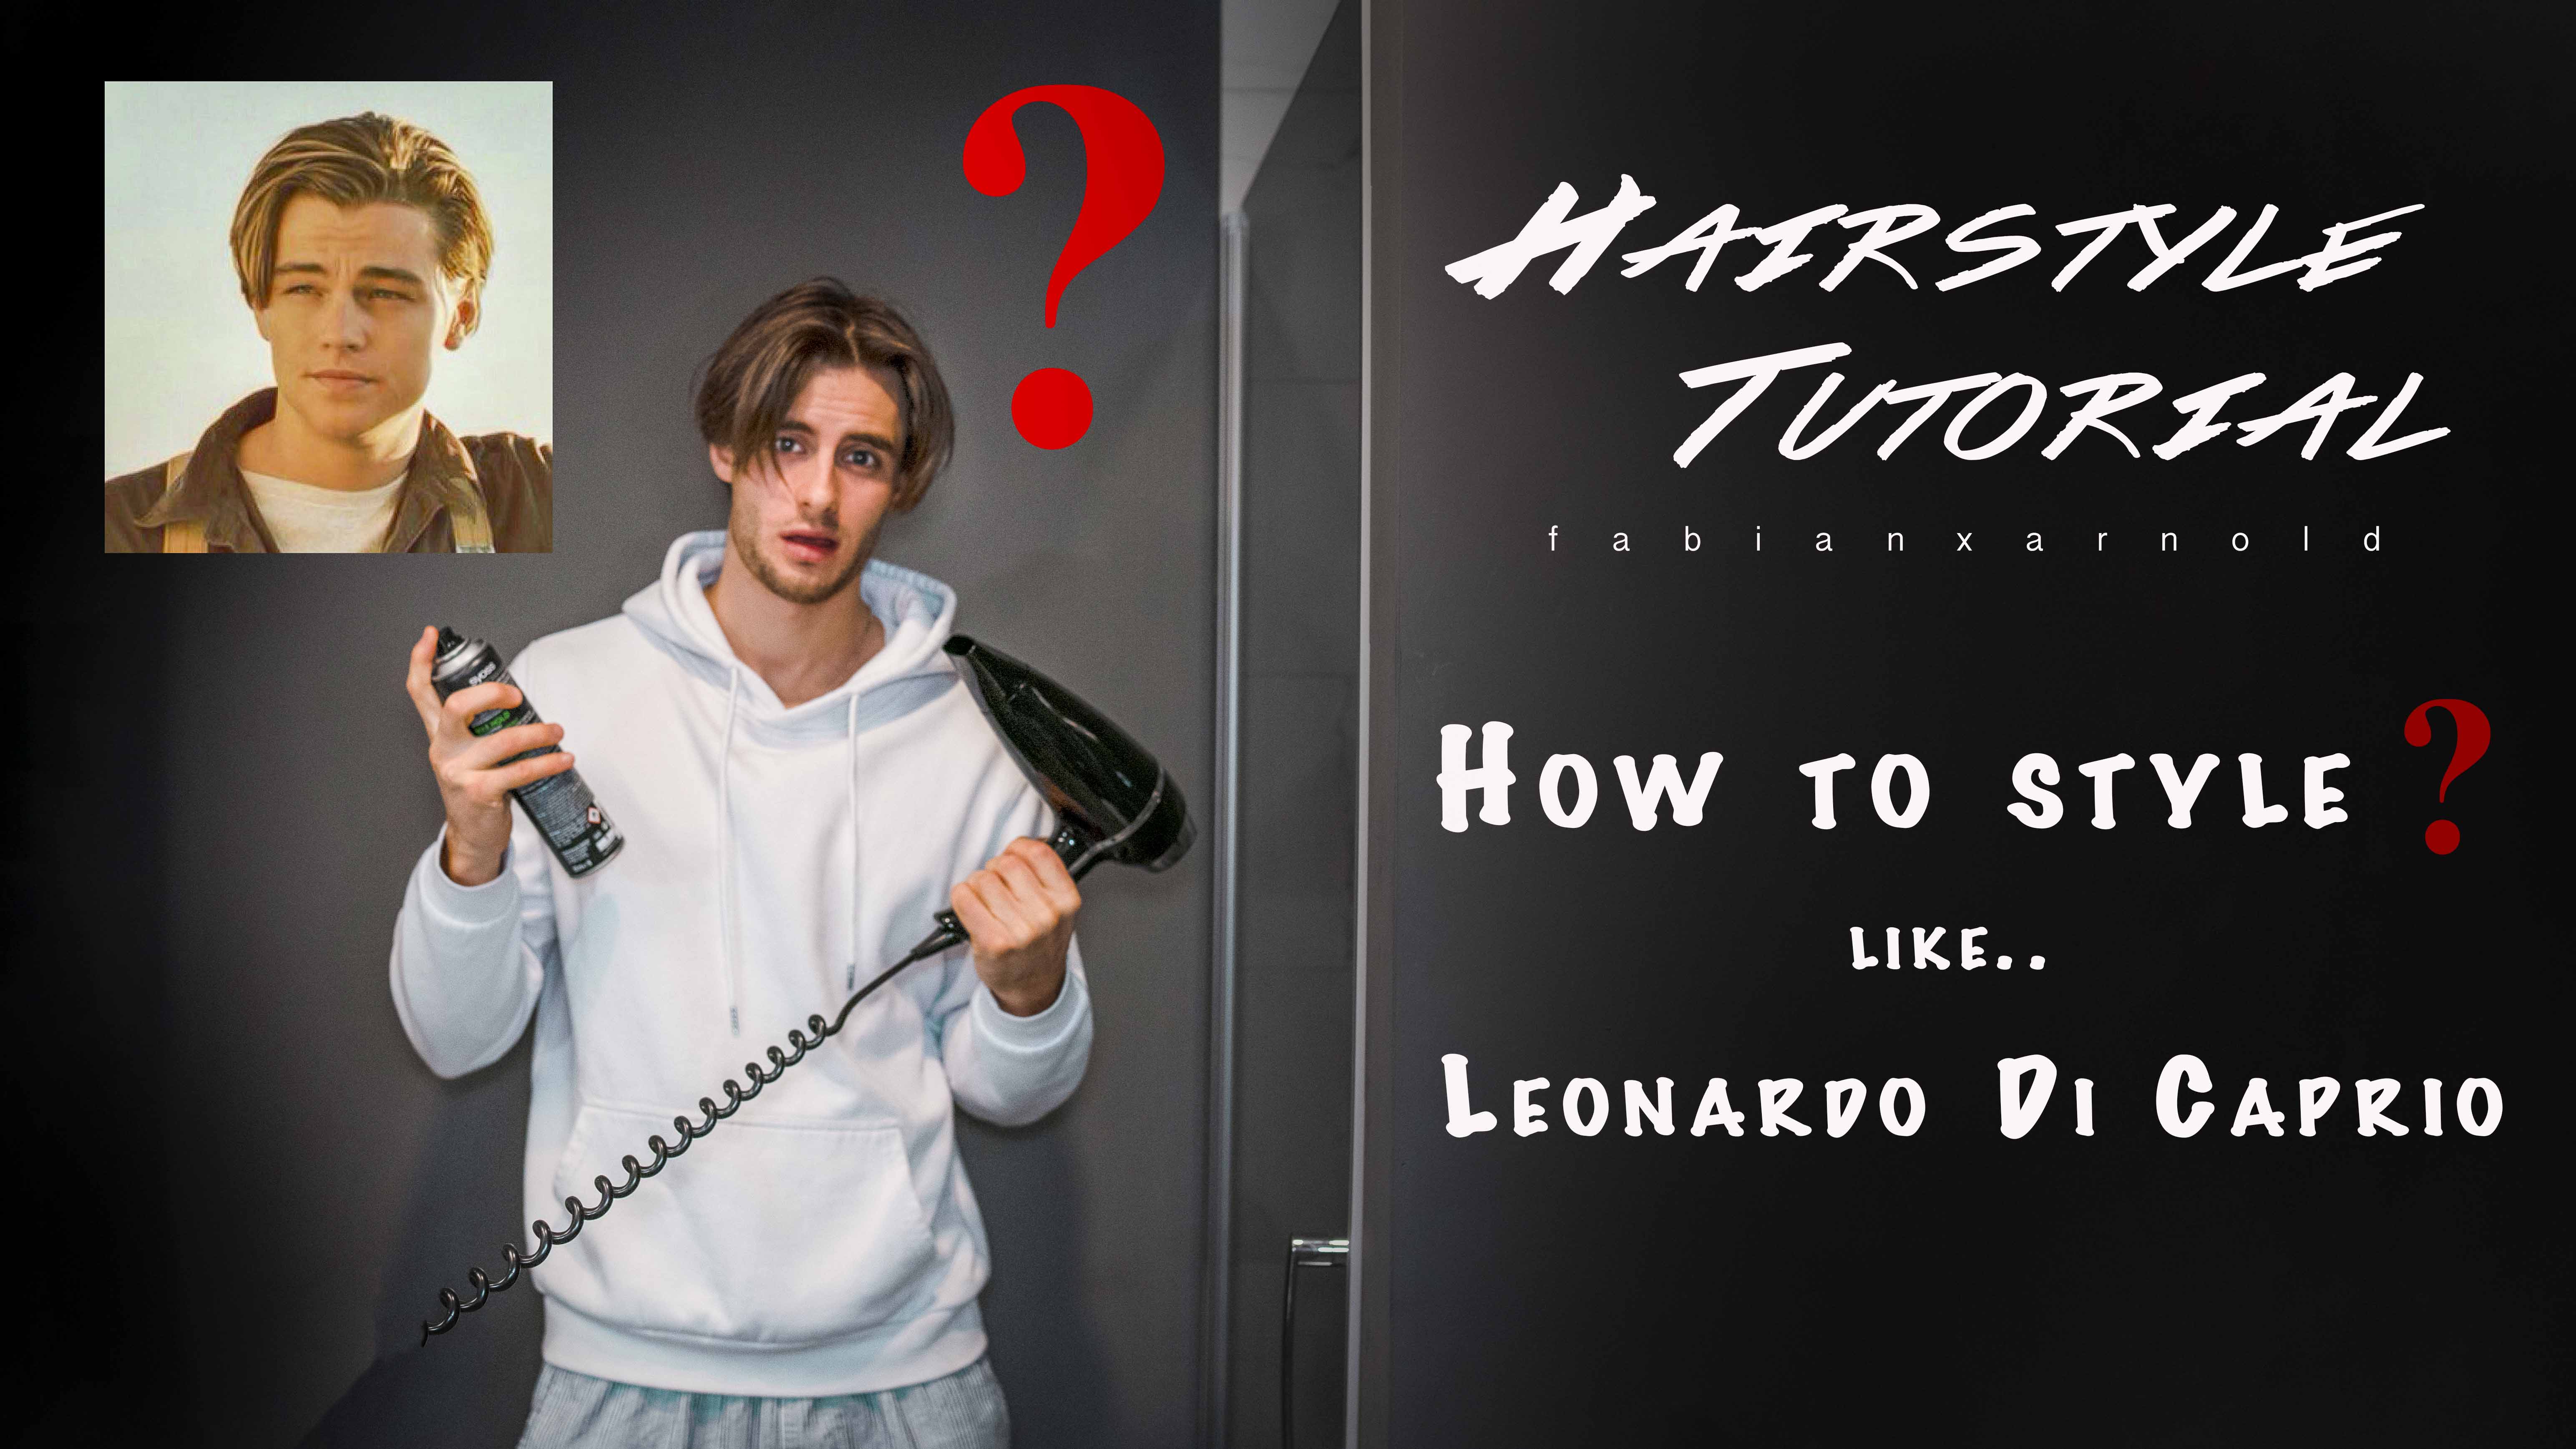
New hair, new style! There are many different ways I can style my hair now. This time I want to show you a style that I think is very cool. I call it „The DiCaprio“. As you can tell by the name already, the look will be quite similar to Leonardo DiCaprio’s hairstyle – but in the 90’s. At that time he wasn’t the absolute megastar he is today, but rather a very talented up and comer, who started to land his first major roles. Oh, and a ladiesman as well.


Step 1: Wet your hair

You don’t need any products in your hair to begin with. You don’t even have to wash them beforehand. Just make sure, it is evenly wet and not dripping.


Step 2: Put volume in it

It doesn’t matter which product of volume mousse you use, it is just important that your hair has a little bit more strength in it and it doesn’t fall down so easily. Make sure that you don’t overdo it on the back and the sides though, because we don’t want to have too much volume on those parts, only at the top.


Step 3: Dry and form

Use a hair dryer and a brush. The main goal here is that your hair doesn’t fall down in your face anymore. You should also start on your middle parting by brushing your hair to either sides. After that you already should have a nice Leo-effect.


Step 4: Lean over and mess it up

Now your hair should be almost dry. In the final steps I like to bend over, so the hair falls straight down, and mess up the front strands to give them even more volume.
Now when you go through it with your hands (front to back), the Leo-effect is even more obvious.


Step 5: Matt paste

It is important that you use dry matt paste, not wet one! Even if you want to have a wet look, there are other ways to do it, just wait and see. 😉
With the same movement as before (front to back) you can give your hair now a nice form. To get the right texture, be sure to really mess it up at the end and brush it in. Now you can form it into place.


Step 6: Beard oil

To give your hair a more oily and healthy look, brush in some beard oil. You can even give yourself a little massage. Don’t use too much, otherwise it will look cheap. That is the advantage beard oil has to wet gel. It is much easier to get a cool look with beard oil, and in addition to that you can make fine adjustments without having to worry about soaking your hair.
After that the Leo-effect should be in full display. Damn, what a hairstyle!


Step 7: Hairspray

If you want it to hold, use some hairspray. Again: less is more. Make sure it holds, but don’t empty the bottle. 😀


That’s it for this awesome hairstyle! Tell me which styles you want to see next and I will try and make them happen. In the meantime, check out my Youtube Channel @fabianxarnold for more content! I recently uploaded a video, in which I tell you the story of how I became a model – of course you will find that on my website, as well.

So long, you guys, enjoy your day! Until next time. 😊

https://youtu.be/ZBTRUtOydmw