
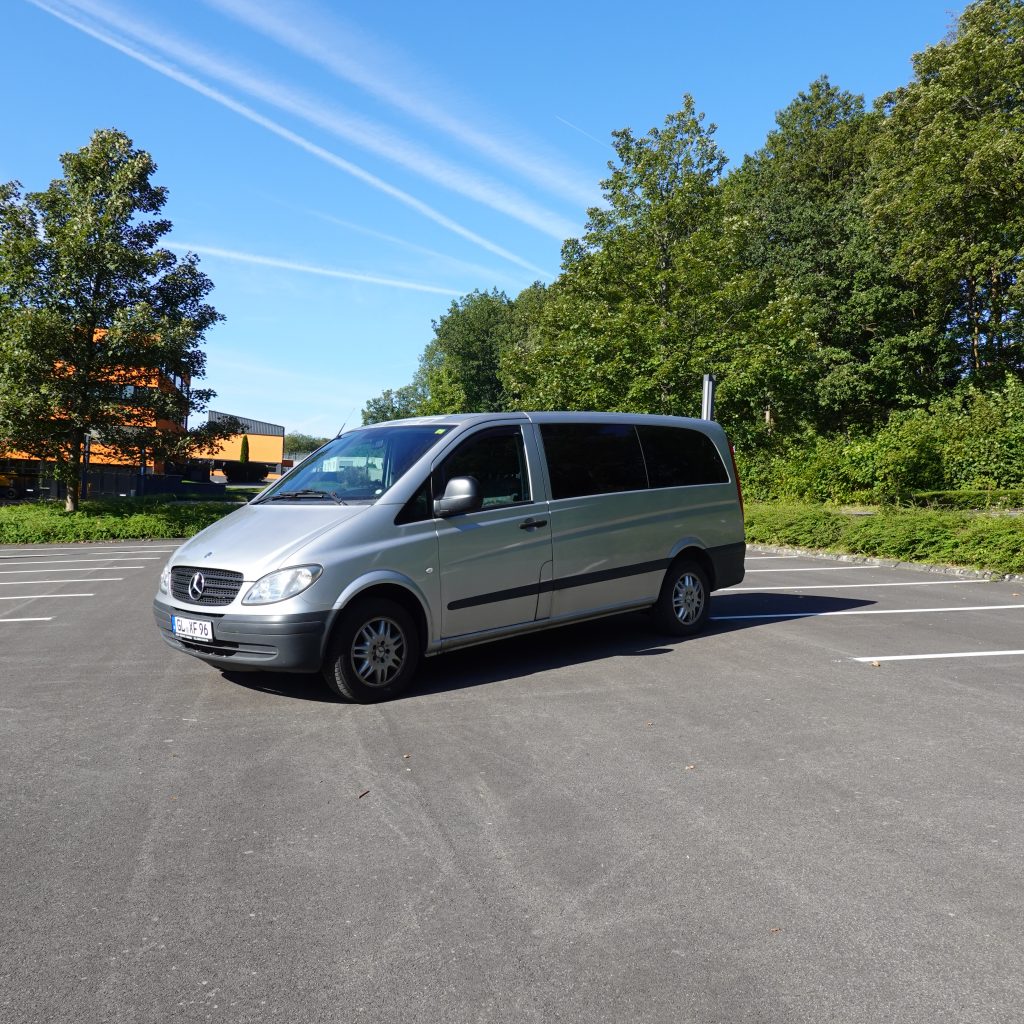
Hi guys, I spent the last months converting this Mercedes Vito, year 2007, into my dream campervan. And I can tell you: The result is outstanding. Of course I have accompanied the conversion work for you. Step by step you can now follow the transformation. I hope you are at least as excited as I am.
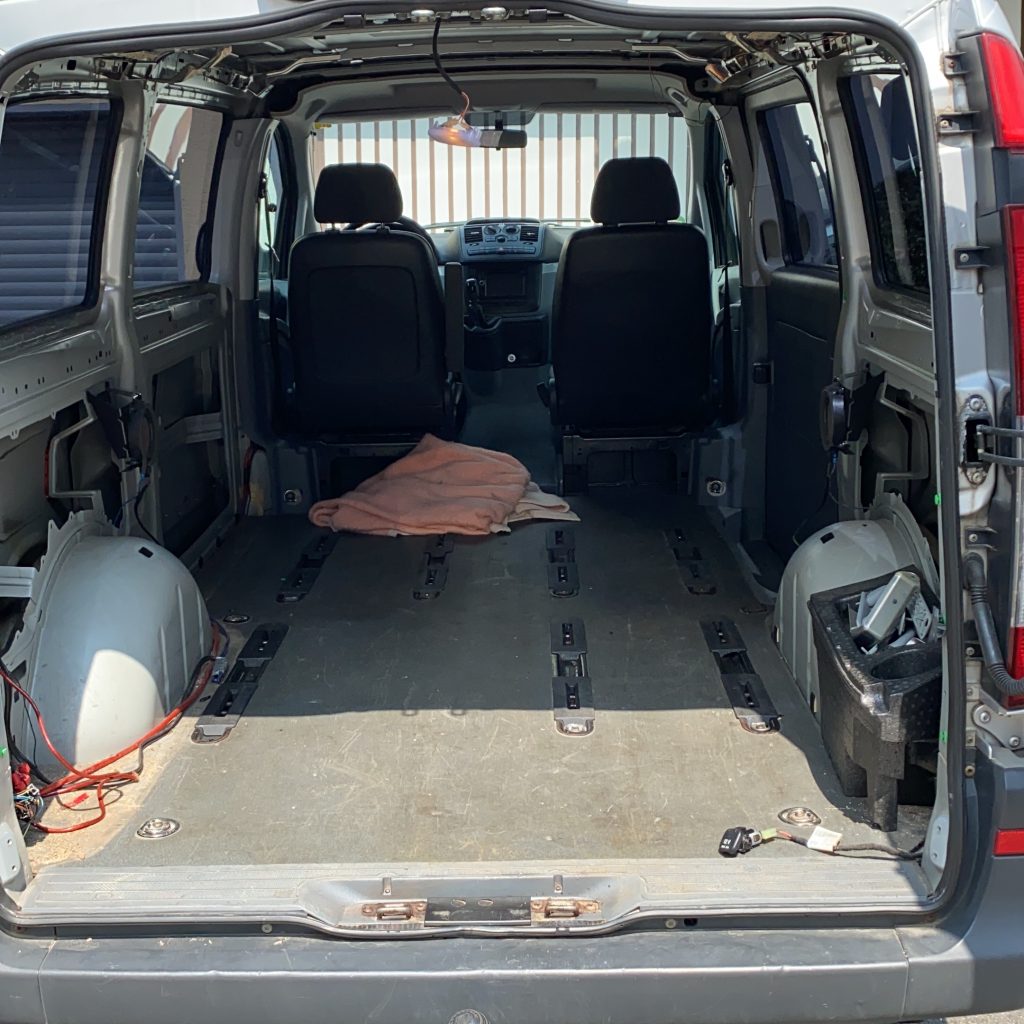
Step 1: Rip it out
Logically, I ripped everything out of the van first.
Step 2: Soundsystem +Navigation
After that, I first replaced the speakers on the side and then the navigation system. Therefore Just Sound sent me some equipment and more precisely my sound and navigation system, as well as an Insulation for better sound. It’s amazing. To find out more about Just Sound, here is the link for you:
https://www.just-sound.de or https://sound.de
/Advertisement.
Step 3: Insulation
Then I insulated and re-clad the Van. Before I put the heat isolation on, I used an isolation film for a better sound. It was pretty easy to install, due to the fact it is self-adhesive and sticks automatically to the roof and the sides. Afterwards I got some Armaflex 19mm isolation, which I installed on the sides and in the ceiling. This one is self attaching as well.
Step 4: Sides and Ceiling
Next, I cut, painted the wood white and installed it, with the help of my dad, at the sides and the ceiling. The bottom I stopped myself until the end.
Step 5: Floor
I used a PCV carpet for the bottom. Here it was important to me to find a floor in wood look and one that fits from the stability, because it can not be too soft, otherwise you would see the footprints after a while. I also trimmed the bottom to fit perfectly on the floor. Of course, I had to pay attention to the cutouts for the seats and other details. To be honest, I had some difficulties with this at the beginning, because the floor did not fit in all places right away. But in the end everything worked out. After all, we must not forget that this is a DIY project, where of course not every millimeter can be perfect.
Step 6: Foiling – Van Design
Since I traveled to London on business, the project had to rest for two weeks. After my return, however, I continued working directly and my Campervan was polished by the Foliencenter NRW. As a motif I have chosen a black and white camouflage pattern, on which the logos of my companies are integrated. If you also want to foil a car according to your wishes, I can highly recommend the Foliencenter NRW. Here is the link to the website, if you want to get more information: https://foliencenter-nrw.com / Advertisement.
Step 7: Tyres + Details
And then the last step has already begun. I got new black 18 inches tires and a bull catcher.
And now my Capervan is finally ready. I hope you like the result. Tell me about your thoughts and your suggestions for improvement in the comments. –> RESULT ON YOUTUBE
If you have any suggestions or ideas for new videos, just let me know in the comments. Until then, have a great time and see you soon! FABS


2 Comments
I loved watching the video of all this work coming together! Love the camper van and cannot wait to hear about all your travels coming up in the weeks ahead. Thank you for sharing your adventures with us.
thank you so much Anna for your feedback 🙂 yes I can’t wait to go on adventures with the van!!