Hairstyle Tutorial – short Hair

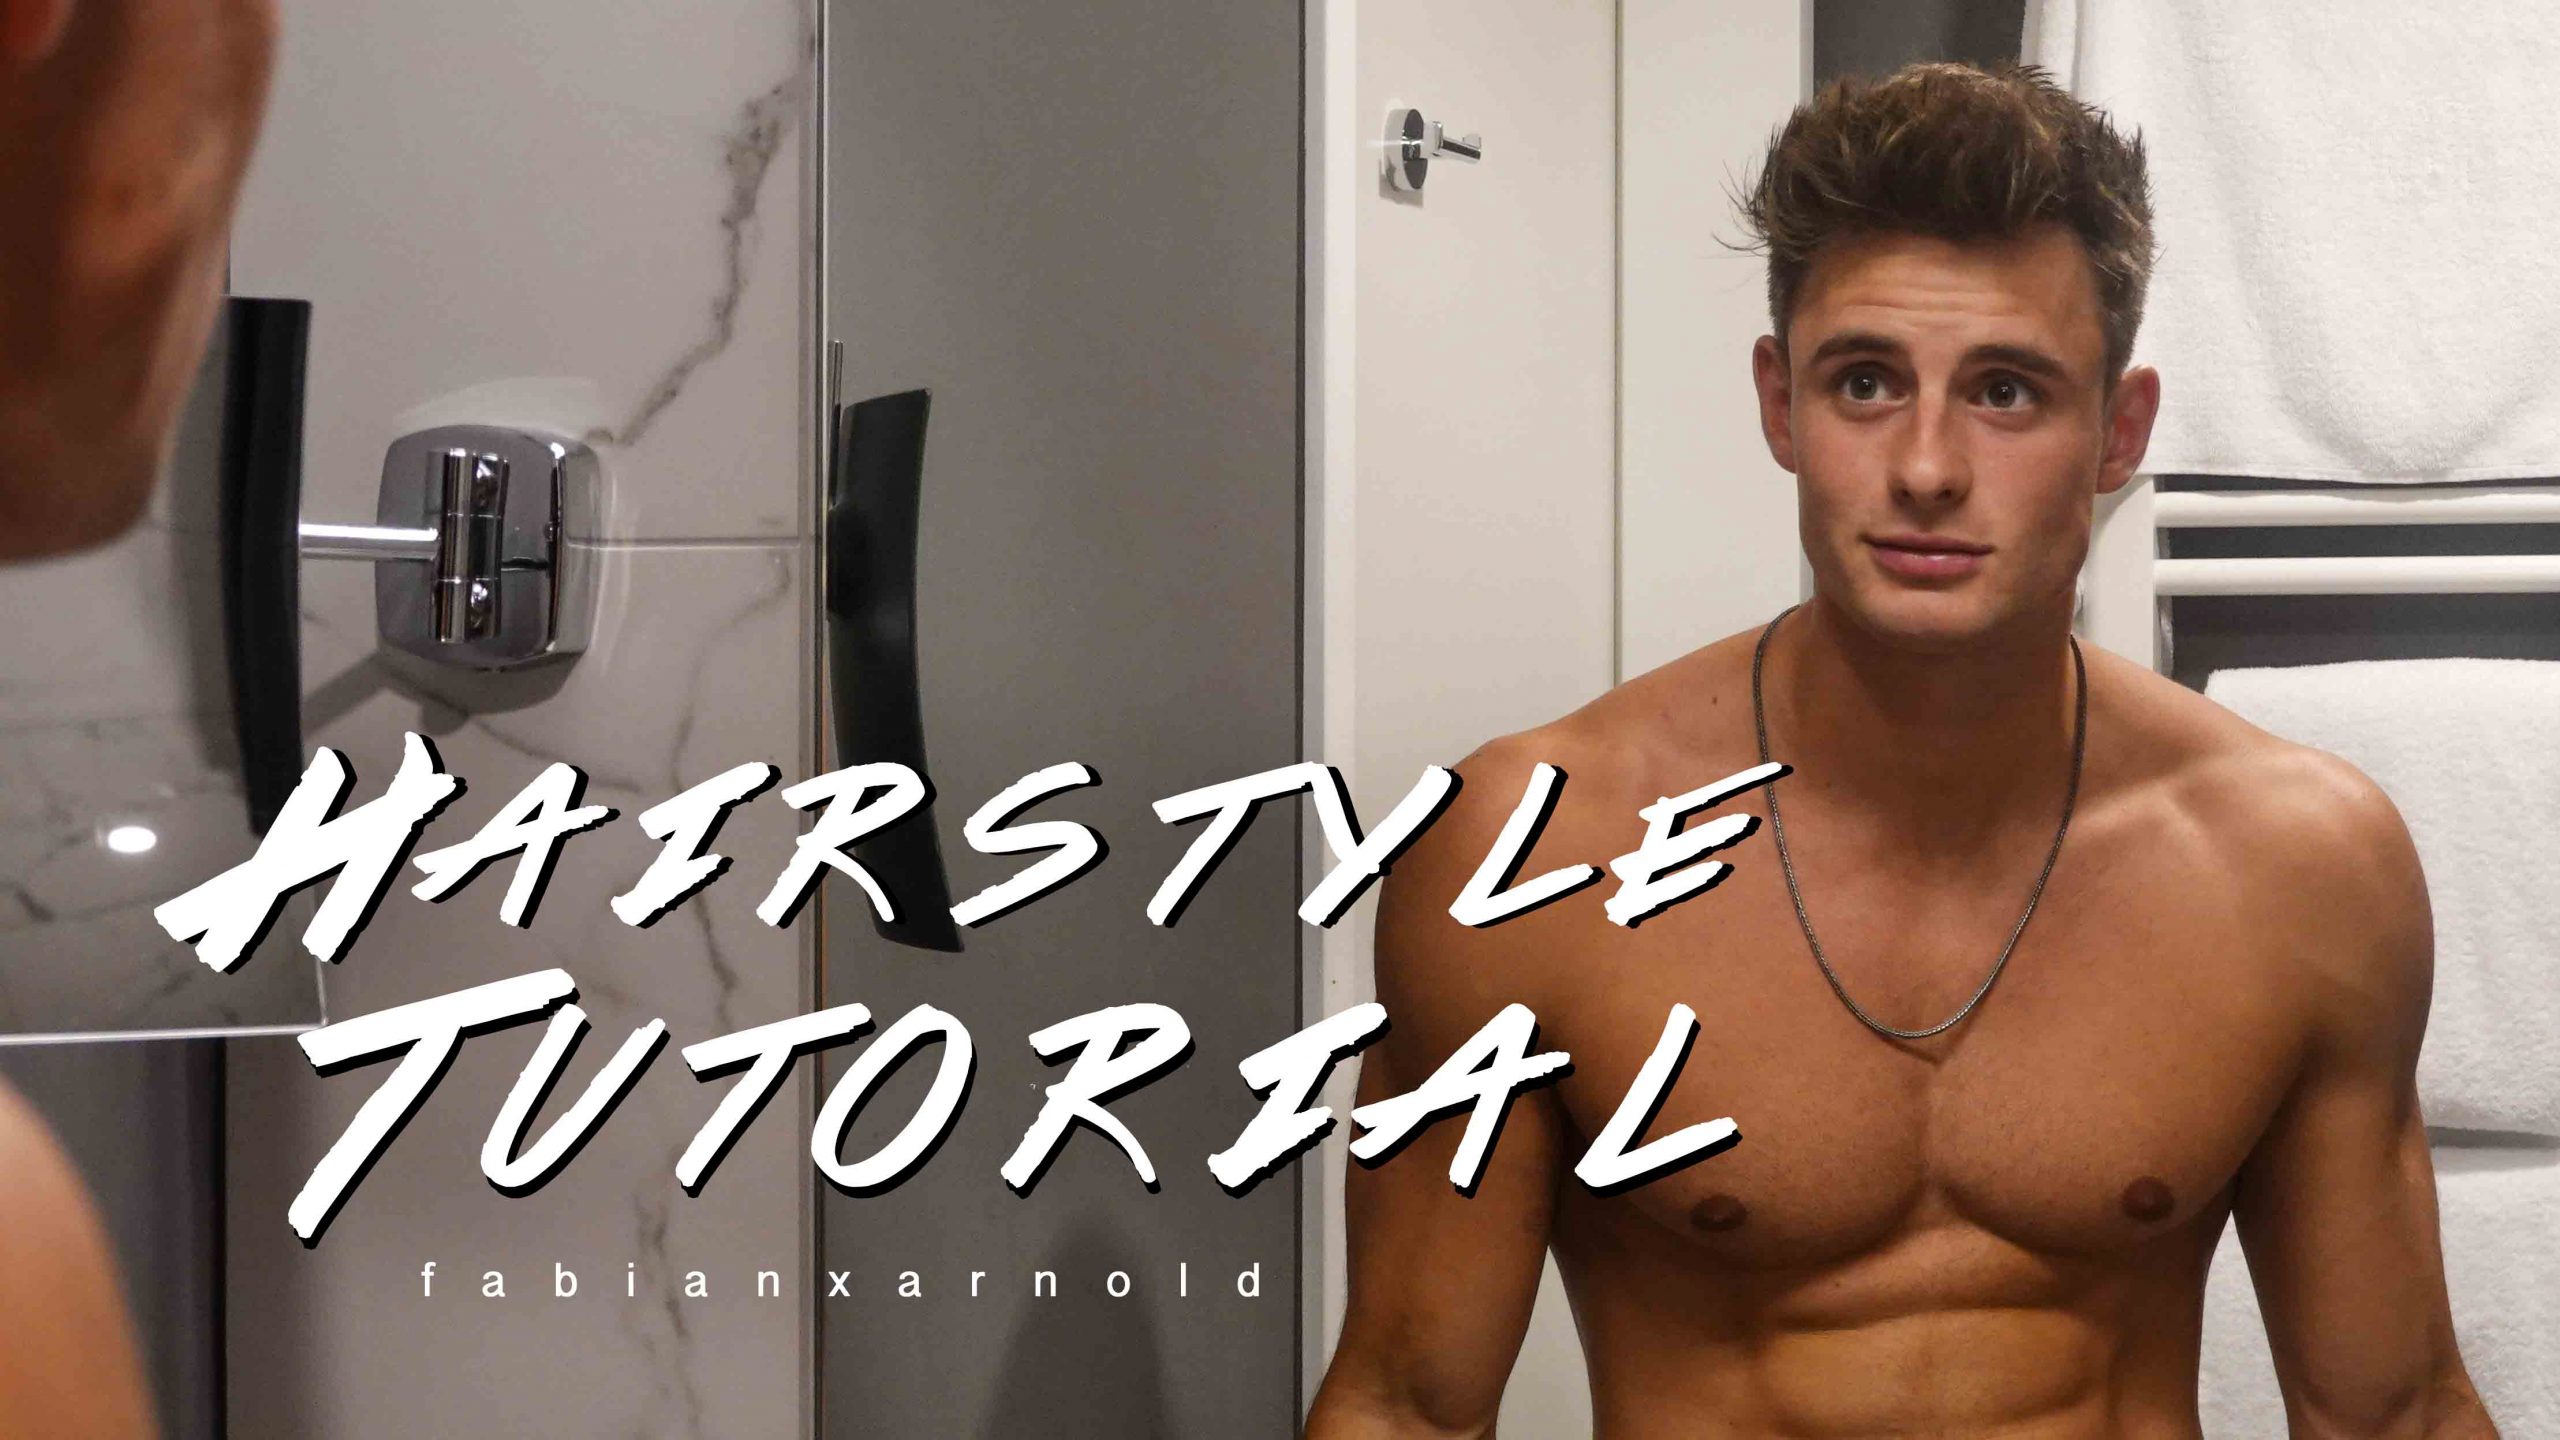
Hey guys and welcome back to another hair tutorial! This time with my short hair.

I went to the hairdresser, because I didn’t like my long hair anymore. I haven’t done a hairstyle tutorial with this haircut yet, so let’s go! It’s like 5 mm on the side and a normal boy’s length on top.

Step 1: Wet the hair

Wet your hair and start raising it up a little bit, because we are going to use volume foam later on.

Step 2: Volume foam

It doesn’t really matter which product you use. Take a hand full – that’s enough. After that you use the hair dryer and hair brush to style it. Take the brush and roll it into your hair, creating a toll in the process. Then you dry it with the hairdryer. But watch out: don’t get too close, because if you do, your hair dries out and tends to break easily. Analyze the direction or the swirl of your hair. It doesn’t make any sense to force it against ist natural direction.

Step 3: Dry it

When you are finished with your brush, your hand takes over. Dry your hair with the hairdryer.

Step 4:

When your hair is nice and dry, the matt paste comes into play. It doesn’t really matter what paste you use. Take some in both of your hands and really mess up your hair. First mess it up and then tidy it up.

Et voila, you are done!

If you have any suggestions or ideas for new videos, just let me know in the comments. Until then, have a great time and see you soon!

Haircut for men EVERYONE can wear!

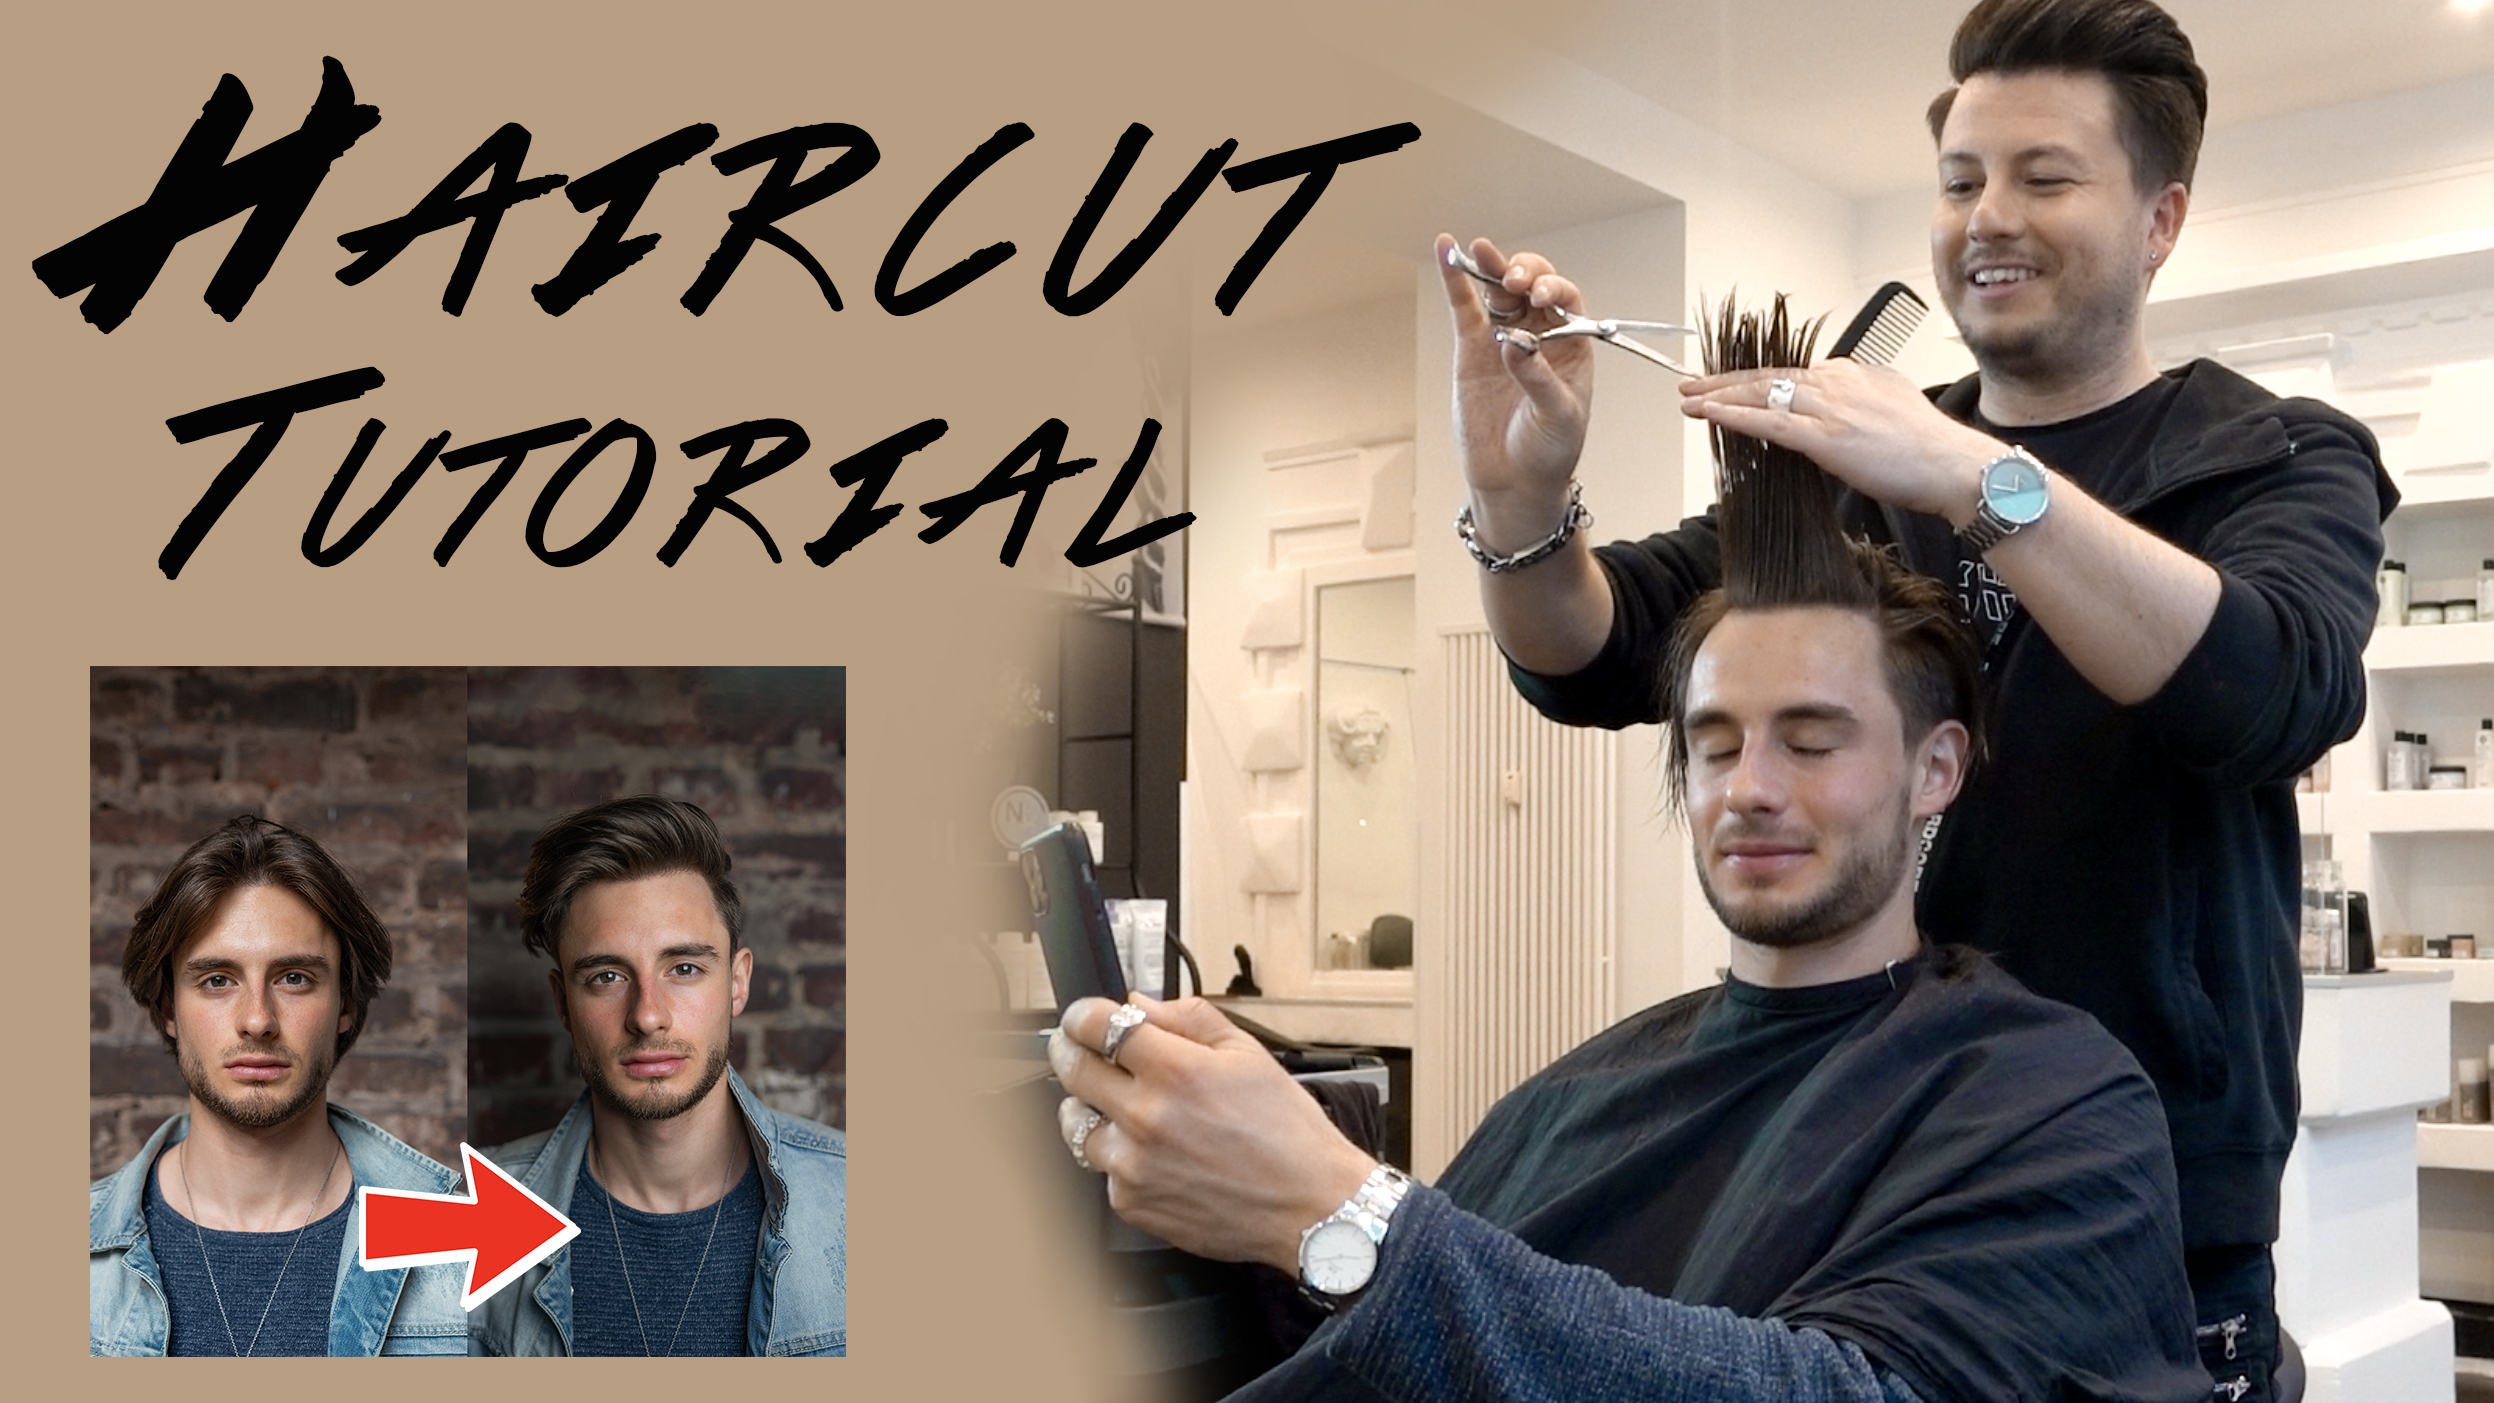
Hey guys, welcome back! I cut my hair … AGAIN! This time I did a completely different cut. I shaved off the sides and made the hair on top a bit shorter, but still rather long. That way I can style it in many different ways: to each side, flat or with volume.
Of course I didn’t cut is myself, my friend Chris was helping me out. Excellent barber!

Before we were ready to get going, we had to wash the hair. But I guess you already know that from your own barber 😉.

Step 1 – rough form sides

To get the rough form in, we started with the sides. We shaved them to a particular length, so we could still adjust them later on. Don’t get them too short!

Step 2 – fading up

When we got the right length on each side, we continued by cleaning the outside and started fading up. That’s the reason I told you not to get it too short from the beginning. The way we did it, we could still adjust the fade.
We started with 12 mm and went up to 20, which isn’t that short for sides, but in comparison to my longer hair on top looks really cool. Find out, what length fits you!

Step 3 – top

Cut the top. The top hair, of course! 😉 We really cut a chunk, because my hair was already so long, it had to be done. But you can play with the length. Again, find out what works for you.

Step 4 – thin out

Because I have very thick hair, we thinned out the top. Doing that allows me to actually style my hair in any direktion I want to. And it will grow back anyway. 😀

Step 5 – clean the back

To finish up, we cleaned out the back, so that it doesn’t look as „round“ anymore.

Step 6 – Styling

Styling: Here is where the fun begins! We started by using sea salt spray, because my hair still was very thick and heavy and falling in any direction. With blow drying that spray in, we gave it more texture, so it was much easier to style afterwards.
Then we continued with dry shampoo, which gave my hair even more texture, more grip and more volume.
Now it gets interesting. After we applied the hairwax, we used hairspray to make it hold. But we didn’t do it the ordinary way: Chris sprayed it on his fingers, going through my hair afterwards.

And thats it! A look that everyone can wear and that’s very versatile. I hope you enjoyed this post and I could give you some useful advice.

Don’t forget to check out my YouTube Channel @fabianxarnold for more tutorials and challenging workouts.

Take care and see you soon, peace!

Hairstyle Tutorial: Leonardo DiCaprio

Hey guys, I hope you are all doing great!

I cut my hair. Yes, I did it. For 12 months I grew it and I wanted to cut it for so long – and I finally did (well, not me personally, but you get it :D).
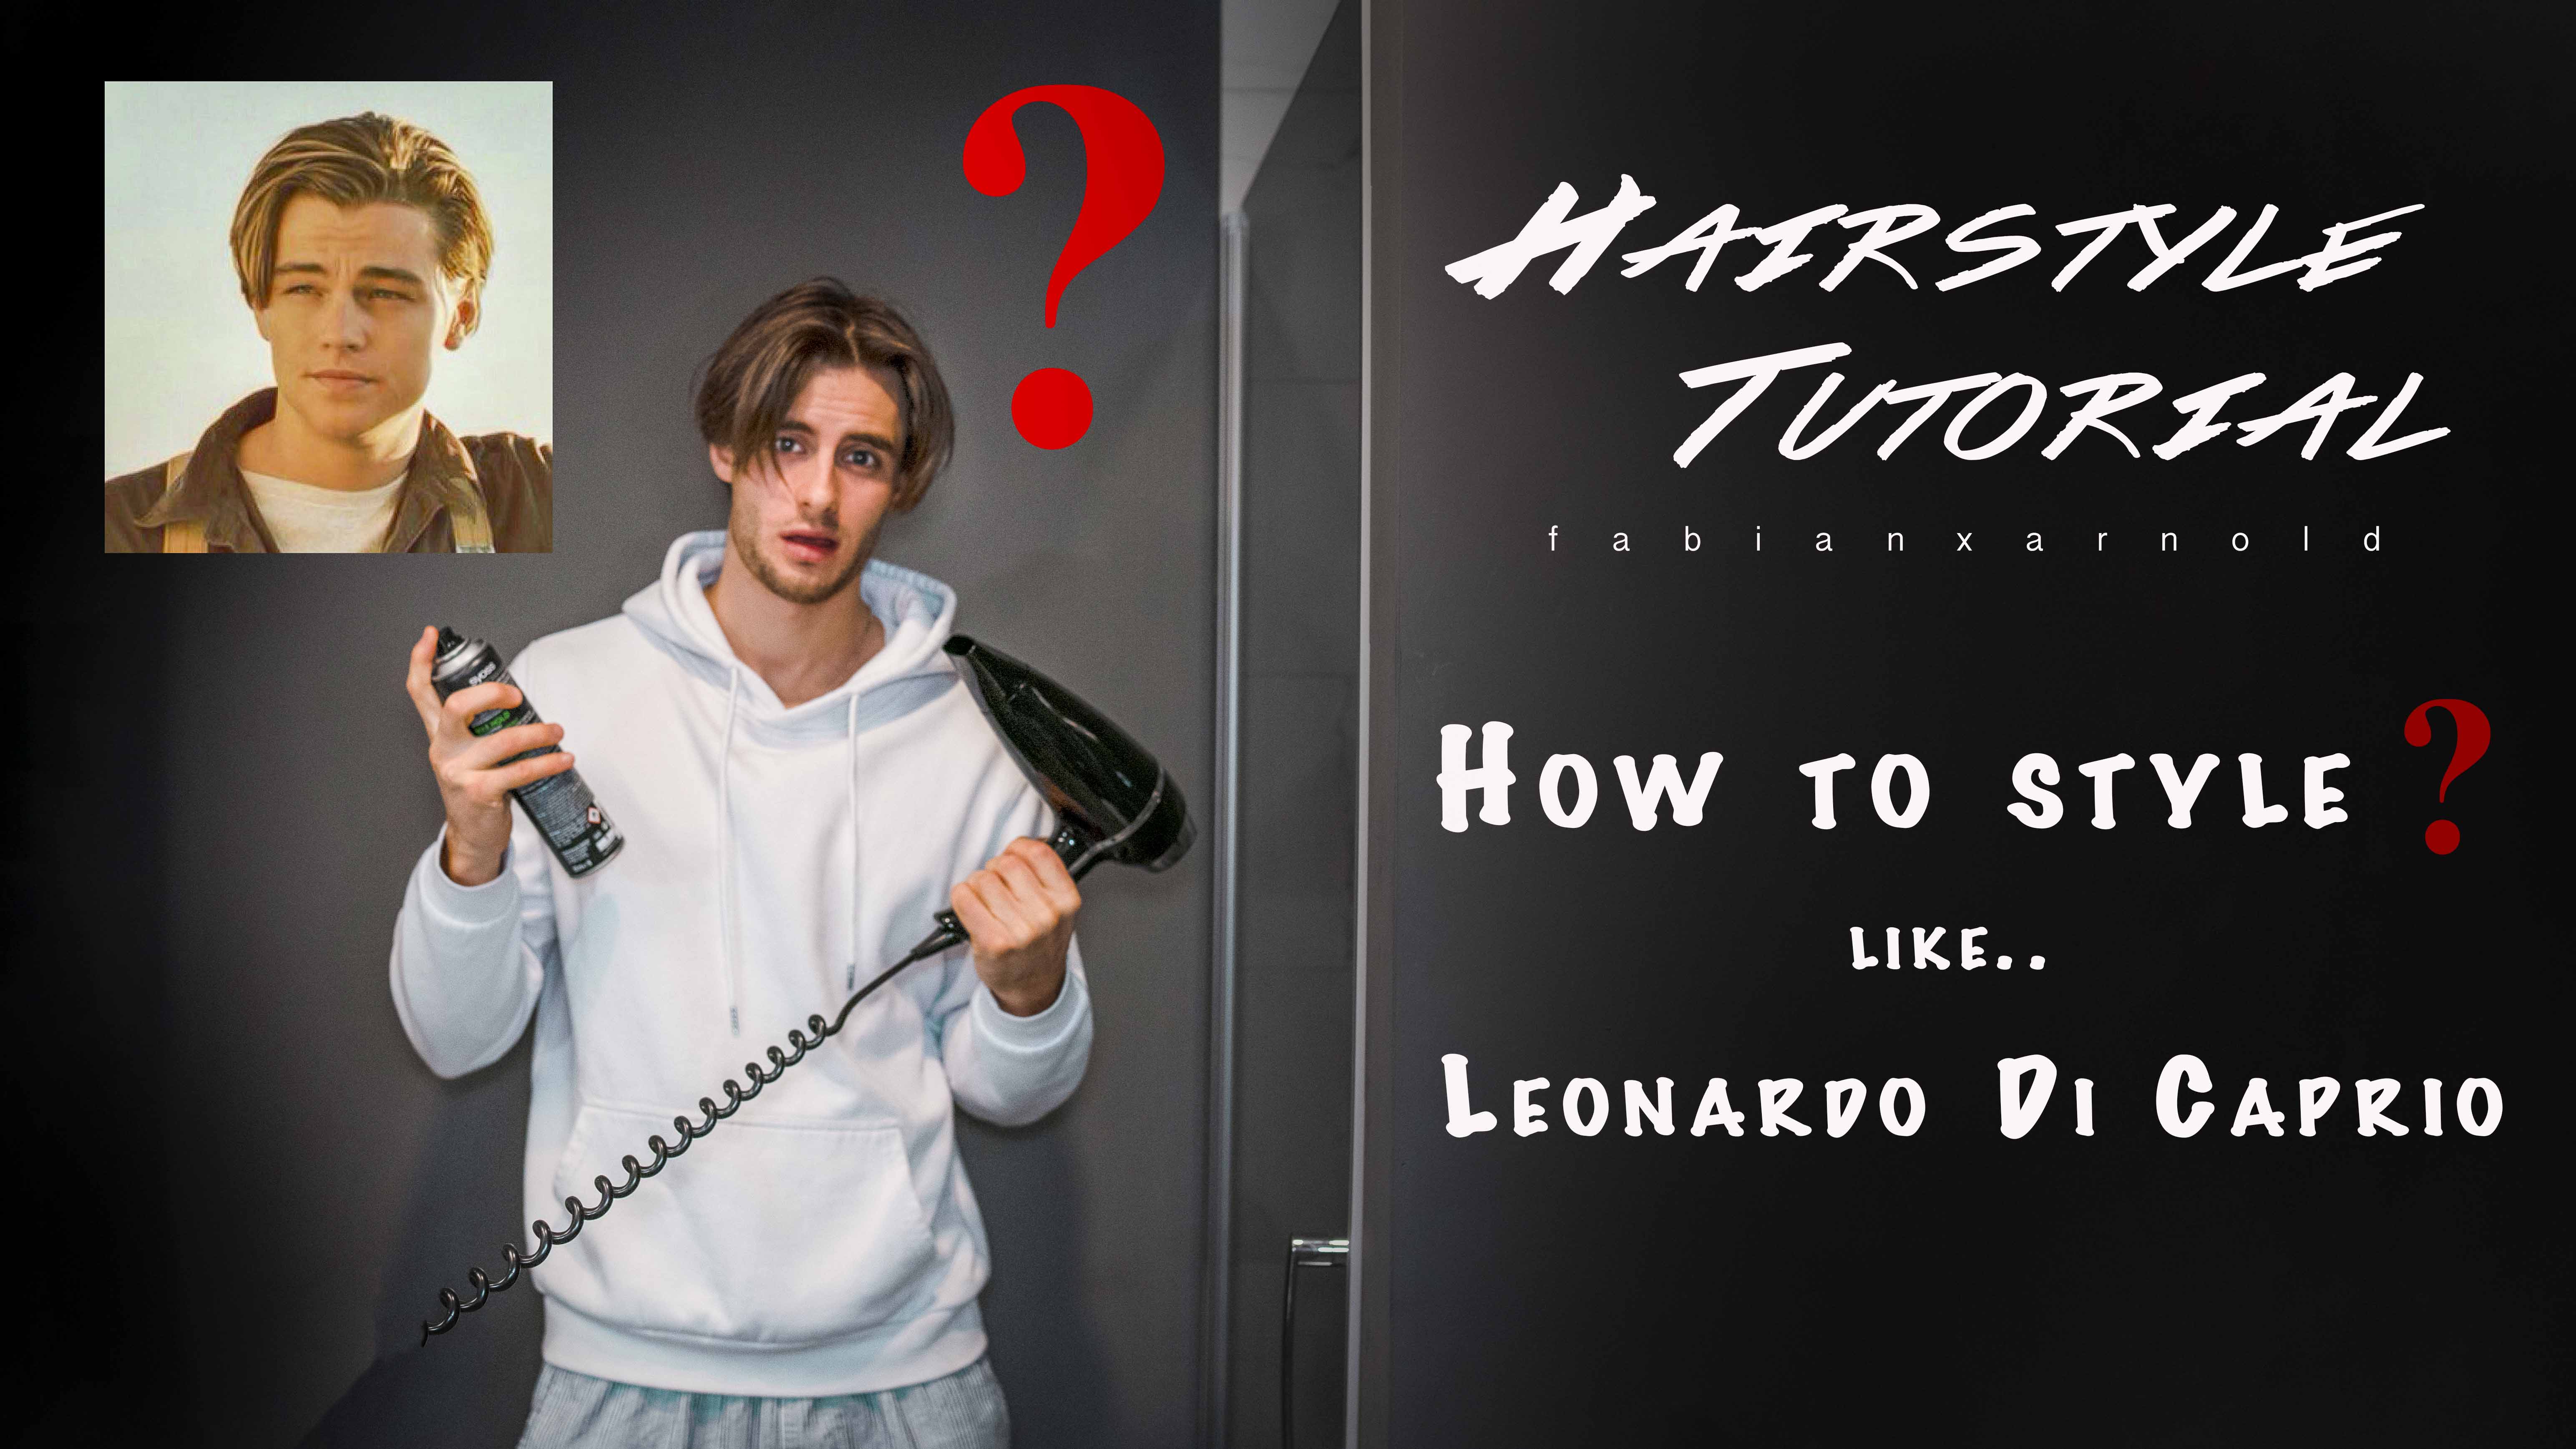
New hair, new style! There are many different ways I can style my hair now. This time I want to show you a style that I think is very cool. I call it „The DiCaprio“. As you can tell by the name already, the look will be quite similar to Leonardo DiCaprio’s hairstyle – but in the 90’s. At that time he wasn’t the absolute megastar he is today, but rather a very talented up and comer, who started to land his first major roles. Oh, and a ladiesman as well.


Step 1: Wet your hair

You don’t need any products in your hair to begin with. You don’t even have to wash them beforehand. Just make sure, it is evenly wet and not dripping.


Step 2: Put volume in it

It doesn’t matter which product of volume mousse you use, it is just important that your hair has a little bit more strength in it and it doesn’t fall down so easily. Make sure that you don’t overdo it on the back and the sides though, because we don’t want to have too much volume on those parts, only at the top.


Step 3: Dry and form

Use a hair dryer and a brush. The main goal here is that your hair doesn’t fall down in your face anymore. You should also start on your middle parting by brushing your hair to either sides. After that you already should have a nice Leo-effect.


Step 4: Lean over and mess it up

Now your hair should be almost dry. In the final steps I like to bend over, so the hair falls straight down, and mess up the front strands to give them even more volume.
Now when you go through it with your hands (front to back), the Leo-effect is even more obvious.


Step 5: Matt paste

It is important that you use dry matt paste, not wet one! Even if you want to have a wet look, there are other ways to do it, just wait and see. 😉
With the same movement as before (front to back) you can give your hair now a nice form. To get the right texture, be sure to really mess it up at the end and brush it in. Now you can form it into place.


Step 6: Beard oil

To give your hair a more oily and healthy look, brush in some beard oil. You can even give yourself a little massage. Don’t use too much, otherwise it will look cheap. That is the advantage beard oil has to wet gel. It is much easier to get a cool look with beard oil, and in addition to that you can make fine adjustments without having to worry about soaking your hair.
After that the Leo-effect should be in full display. Damn, what a hairstyle!


Step 7: Hairspray

If you want it to hold, use some hairspray. Again: less is more. Make sure it holds, but don’t empty the bottle. 😀


That’s it for this awesome hairstyle! Tell me which styles you want to see next and I will try and make them happen. In the meantime, check out my Youtube Channel @fabianxarnold for more content! I recently uploaded a video, in which I tell you the story of how I became a model – of course you will find that on my website, as well.

So long, you guys, enjoy your day! Until next time. 😊

https://youtu.be/ZBTRUtOydmw