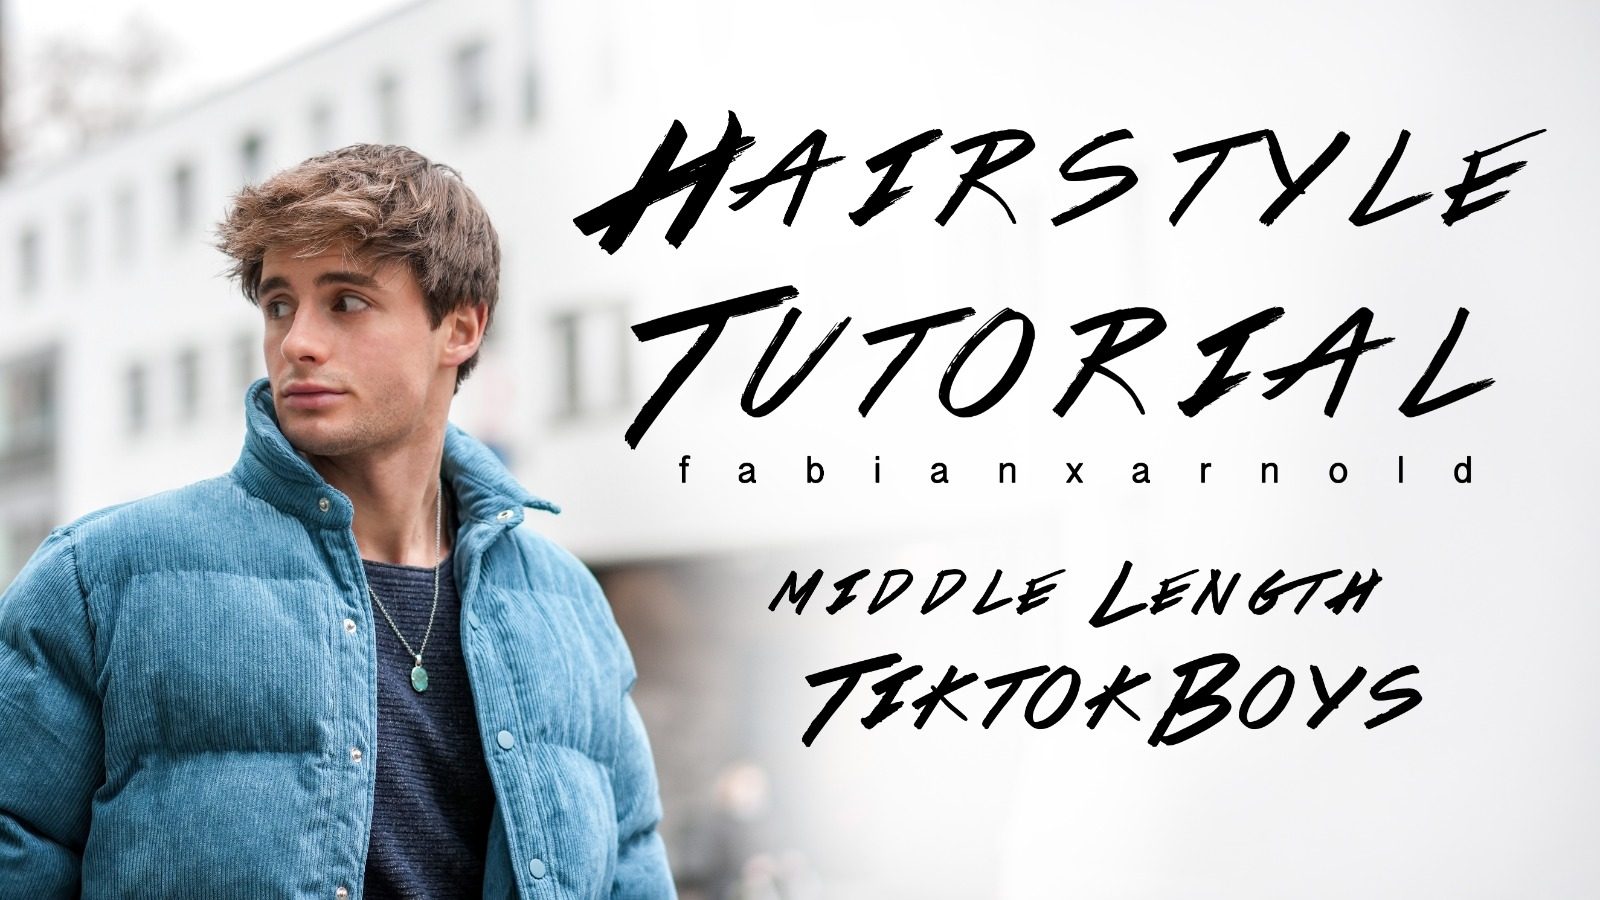
Hair style for man – Tiktok Edition

Hi guys, finally I have a new hair tutorial for you. Stay tuned and learn how to style your hair perfectly for any occasion as a man. Currently I have a few highlights on the top and my hair is a little longer. So this tutorial is perfect for those who want to tame their wild mane. Learn now how to make the TikTok hairstyle work for you.

Step 1

If you start with freshly washed hair, the first thing you need to do is dry your hair. The top of the hair can still be a little damp, but the sides and back should be completely dry. When washing, you should use high quality products that nourish your hair. I use conditioner every day, shampoo every other day and once a week I apply a hair mask. In addition, I also use some hair oil from time to time. Currently I use the products of Fable & Mane /ad non-paid.

Step 2

In the next step, I apply some volume foam. Therefore I use a product from Syoss / ad non-paid. For this I use about a handful of foam, distribute it in my hands and then apply the foam in my hair where I want to have volume. Since I like to have volume in the front, I apply the foam predominantly on the front. I also add a little to the sides and back. To make sure it has the desired effect, I rub the foam and make sure it reaches the roots, because it is from them that the volume is generated. Currently it looks like the typical surfer style hairstyle. That’s why I’m already moving on to the next step.

Step 3

To avoid a wet look, I blow dry my hair using a brush. It is important to use the hottest temperature level, but not the strongest level. I roll my hair up with the brush and dry it from down and the top. In this step, do not hold the hair dryer in one place for too long, otherwise the hair will dry out. Now repeat the same with the side. After I’m done with the top hair I repeat this step with my right and left hair parts as well. In the end the rest of the back of the head must be blow-dried. Here I use no brush, but simply my hands to speed up the process.

Step 4

Now a little bit of a matte paste can be applied. I don’t use hairspray or hair gel, for example, because I don’t want my hair fixed, but rather a natural look. Here I use the “Strand Matte” matte paste from got2b /ad non-paid and the molding paste from Forte /ad non-paid. In this step the hair can be simply messed up and moved backwards and forwards. Then I tiny it up at the sides and roll it up in the front.

And now my TikTok hairstyle is ready. I hope you like the result. Tell me about your thoughts and your suggestions for improvement in the comments.
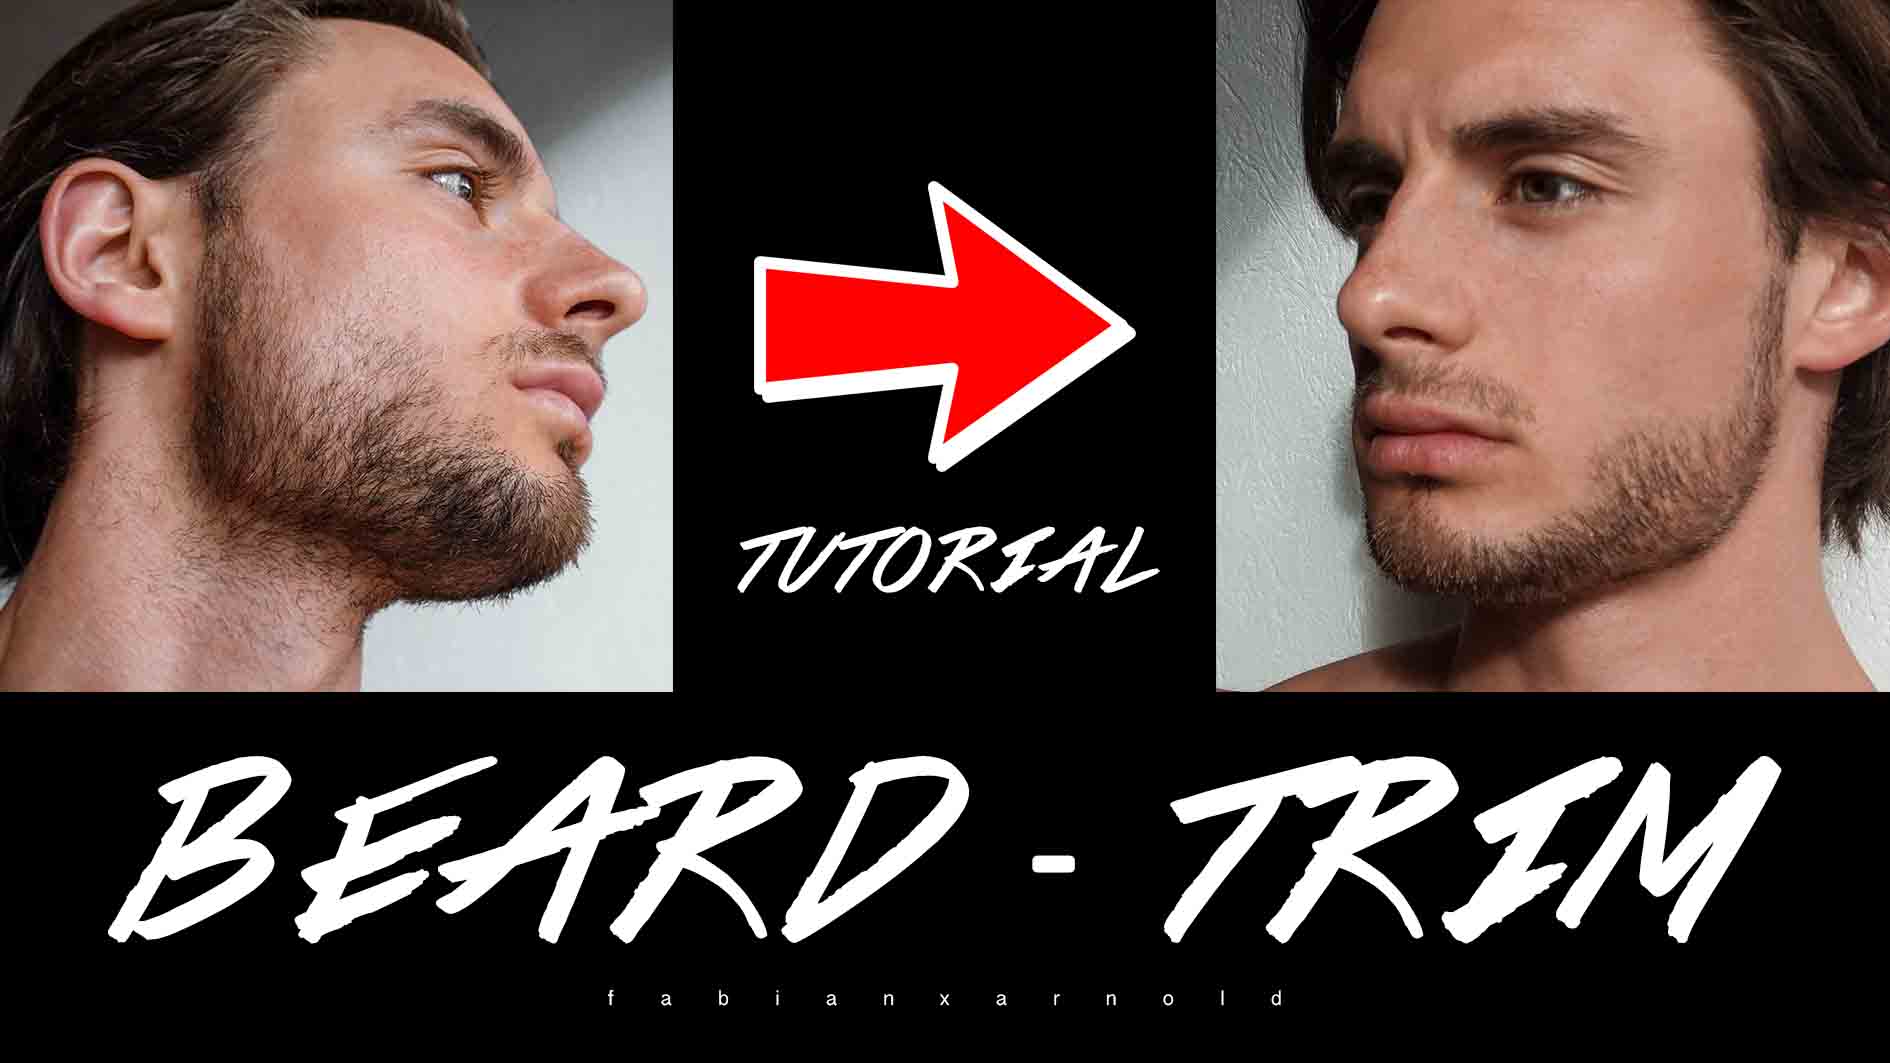
How to trim a beard?! – Tutorial 3 Day Beard MEN

Hey guys, welcome back! Today I want to talk about a very important asset to a man’s face: the beard.

When I was younger, I dreamed of having a real „man-beard“. Well, I am slowly getting there. Now I want to show you how I shave it, so it looks like a proper beard.

Before shaving

It is very important to let your facial hair grow for some time, even i fit looks horrible. To get the best out of it, you have to have something to work with. I try to work with one centimeter, that takes me about two weeks to grow.

Rough shave

I use a beard trimmer with millimeter adjustments, so I can be very precise. I always start with 5 millimeters and do a rough shave against the beard line. I start at the middle and do the sides after that (I go up until the middle of my ear, but you can change that up). Try to stretch your face a little bitt o reach every part of your face, otherwise some tiny hairs may be overlooked.
The moustache comes last. Here I adjust the trimmer to 4 or 3,5 millimeters.

If you have parts of your beard that are darker than the others, trim it a bit shorter, so it looks like it is the same length.

Details

After doing a rough shave, you have two options for the details:
1. Use a dry, electrical one blade
2. Use a wet shaver
I normally start with the dry blade and do the lines of my beard, later I clean everything up with the wet shaver.

To do the bottom lines on your throat properly, put one finger right where the chin ends and the throat begins. This is where you want to have your line. From there you go tot he sides and up to get a clean cut just along the transition of your chin to throat.

Some people (like me) don’t have that much facial hair on the sides. So I try to shave everything above the visible hair and create an intentional line that way. I basically draw a beard into my face. 😀

After that clean everything out with shaving cream and the wet shaver. Remember: Always cut up to down, otherwise you might destry your skin.

Aftercare

When you are done, wash the remaining cream off with water and dry your face with a towel. Don’t rub it in, but rather dab and press it against your skin. That way it is much more skin friendly.

Having done that, it is time to use after shave cream. I don’t really use proper after shave with alcohol in it, but natural products with aloe vera inside. Again, don’t rub it in, but rather to little dabs.

And after that, you are done! I hope I could help you with your beard routine and some of you will walk around with a massive beard shortly. 😀

If you want more tutorials like that, don’t forget to subscribe to my YouTube-Channel @fabianxarnold.

I am looking forward to see you! Take care!

Fabian

Model ABC – What is a Test Shoot?!

There are many different types of test shoots. Basically the name “test shoot” already contains the explanation. You test, you learn, you connect with people from the industry and you expand your portfolio.

What is a test shoot?

A test shoot has no minimum or maximum number of people that can be involved. Sometimes only the model and the photographer shoot, sometimes make-up artists are involved as well. The only important thing is that no third party is involved which has commissioned the shoot. You work together, but for yourself, so to speak.
In the best case, no one has to pay for this test. The profit is the resulting pictures that the artists involved can include in their portfolio – the model as well as the photographer and the make-up artists.


Why do you need to do this?

If you are a model at the very beginning of your career, these shoots help to generate just that and fill your portfolio. Depending on the size of the photographer, he or she may demand a small fee from the model for this, since the photographer can usually not use the pictures as well as the model itself.
The opposite situation also exists: if the model has already achieved a certain level of recognition on the market, and a relatively new photographer wants to expand his skills, he may pay the model.
In most cases, however, no money flows from one to the other,  it is simply a test shoot to get to know each other and, most importantly, push each other.
But there are other reasons to have a test shoot. For example, I recently updated my portfolio because my hair is significantly longer than in the most recent picture in my portfolio. If the hair comes off again, I’m probably due for a new test shoot. 😀
A test shoot is also useful when entering a previously unknown country. This way you are able to get to know the local photographers and acclimatise. This is very important, because photographers are often responsible for selecting models for jobs. As everywhere in life, connections are incredibly important and contribute significantly to success.


How do I get test shoots?

The classic way to get a test shoot is through your own model agency. They can then get in touch with a photographer.
In the digital age, however, there are of course other ways. Instagram and the like make this possible. On these platforms, you can ask photographers directly and arrange a test shoot.

You basically can’t do too many test shoots. But you should always be careful and not equate these tests with real jobs. Remember: You don’t usually get paid for these shoots. Therefore, you should always think about booking “real” jobs and earning money. Don’t end up losing your appetite because you’ve had your fill of shoots. 😀


This is what a test shoot looks like!

With my team, I shot a short behind the scenes video of our test shoot in Singapore 2019. Here you can follow first-hand how such a shoot goes; how I get made up, the shoot itself and the selection of the photos on the computer. Just have a look at my YouTube channel: @fabianxarnold

If you have any questions or suggestions, feel free to write them in the comments, whether on YouTube or here!